Overview
In addition to the standard objects provided within Unify be default, you can define custom objects for additional data sources or integrations you want to connect to Unify. Objects can also be linked to each other using reference attributes. There are no limitations on the number of objects or attributes you can create. We recommended creating separate objects for each data source or integration. This keeps data organized and makes it easier to see where specific values originated from.Create an object
Creating objects can also be done via the
API, which may be convenient for
developers who prefer to programmatically define many objects at a time.
Open the object settings page
Navigate to Settings -> Objects
and select Add new object.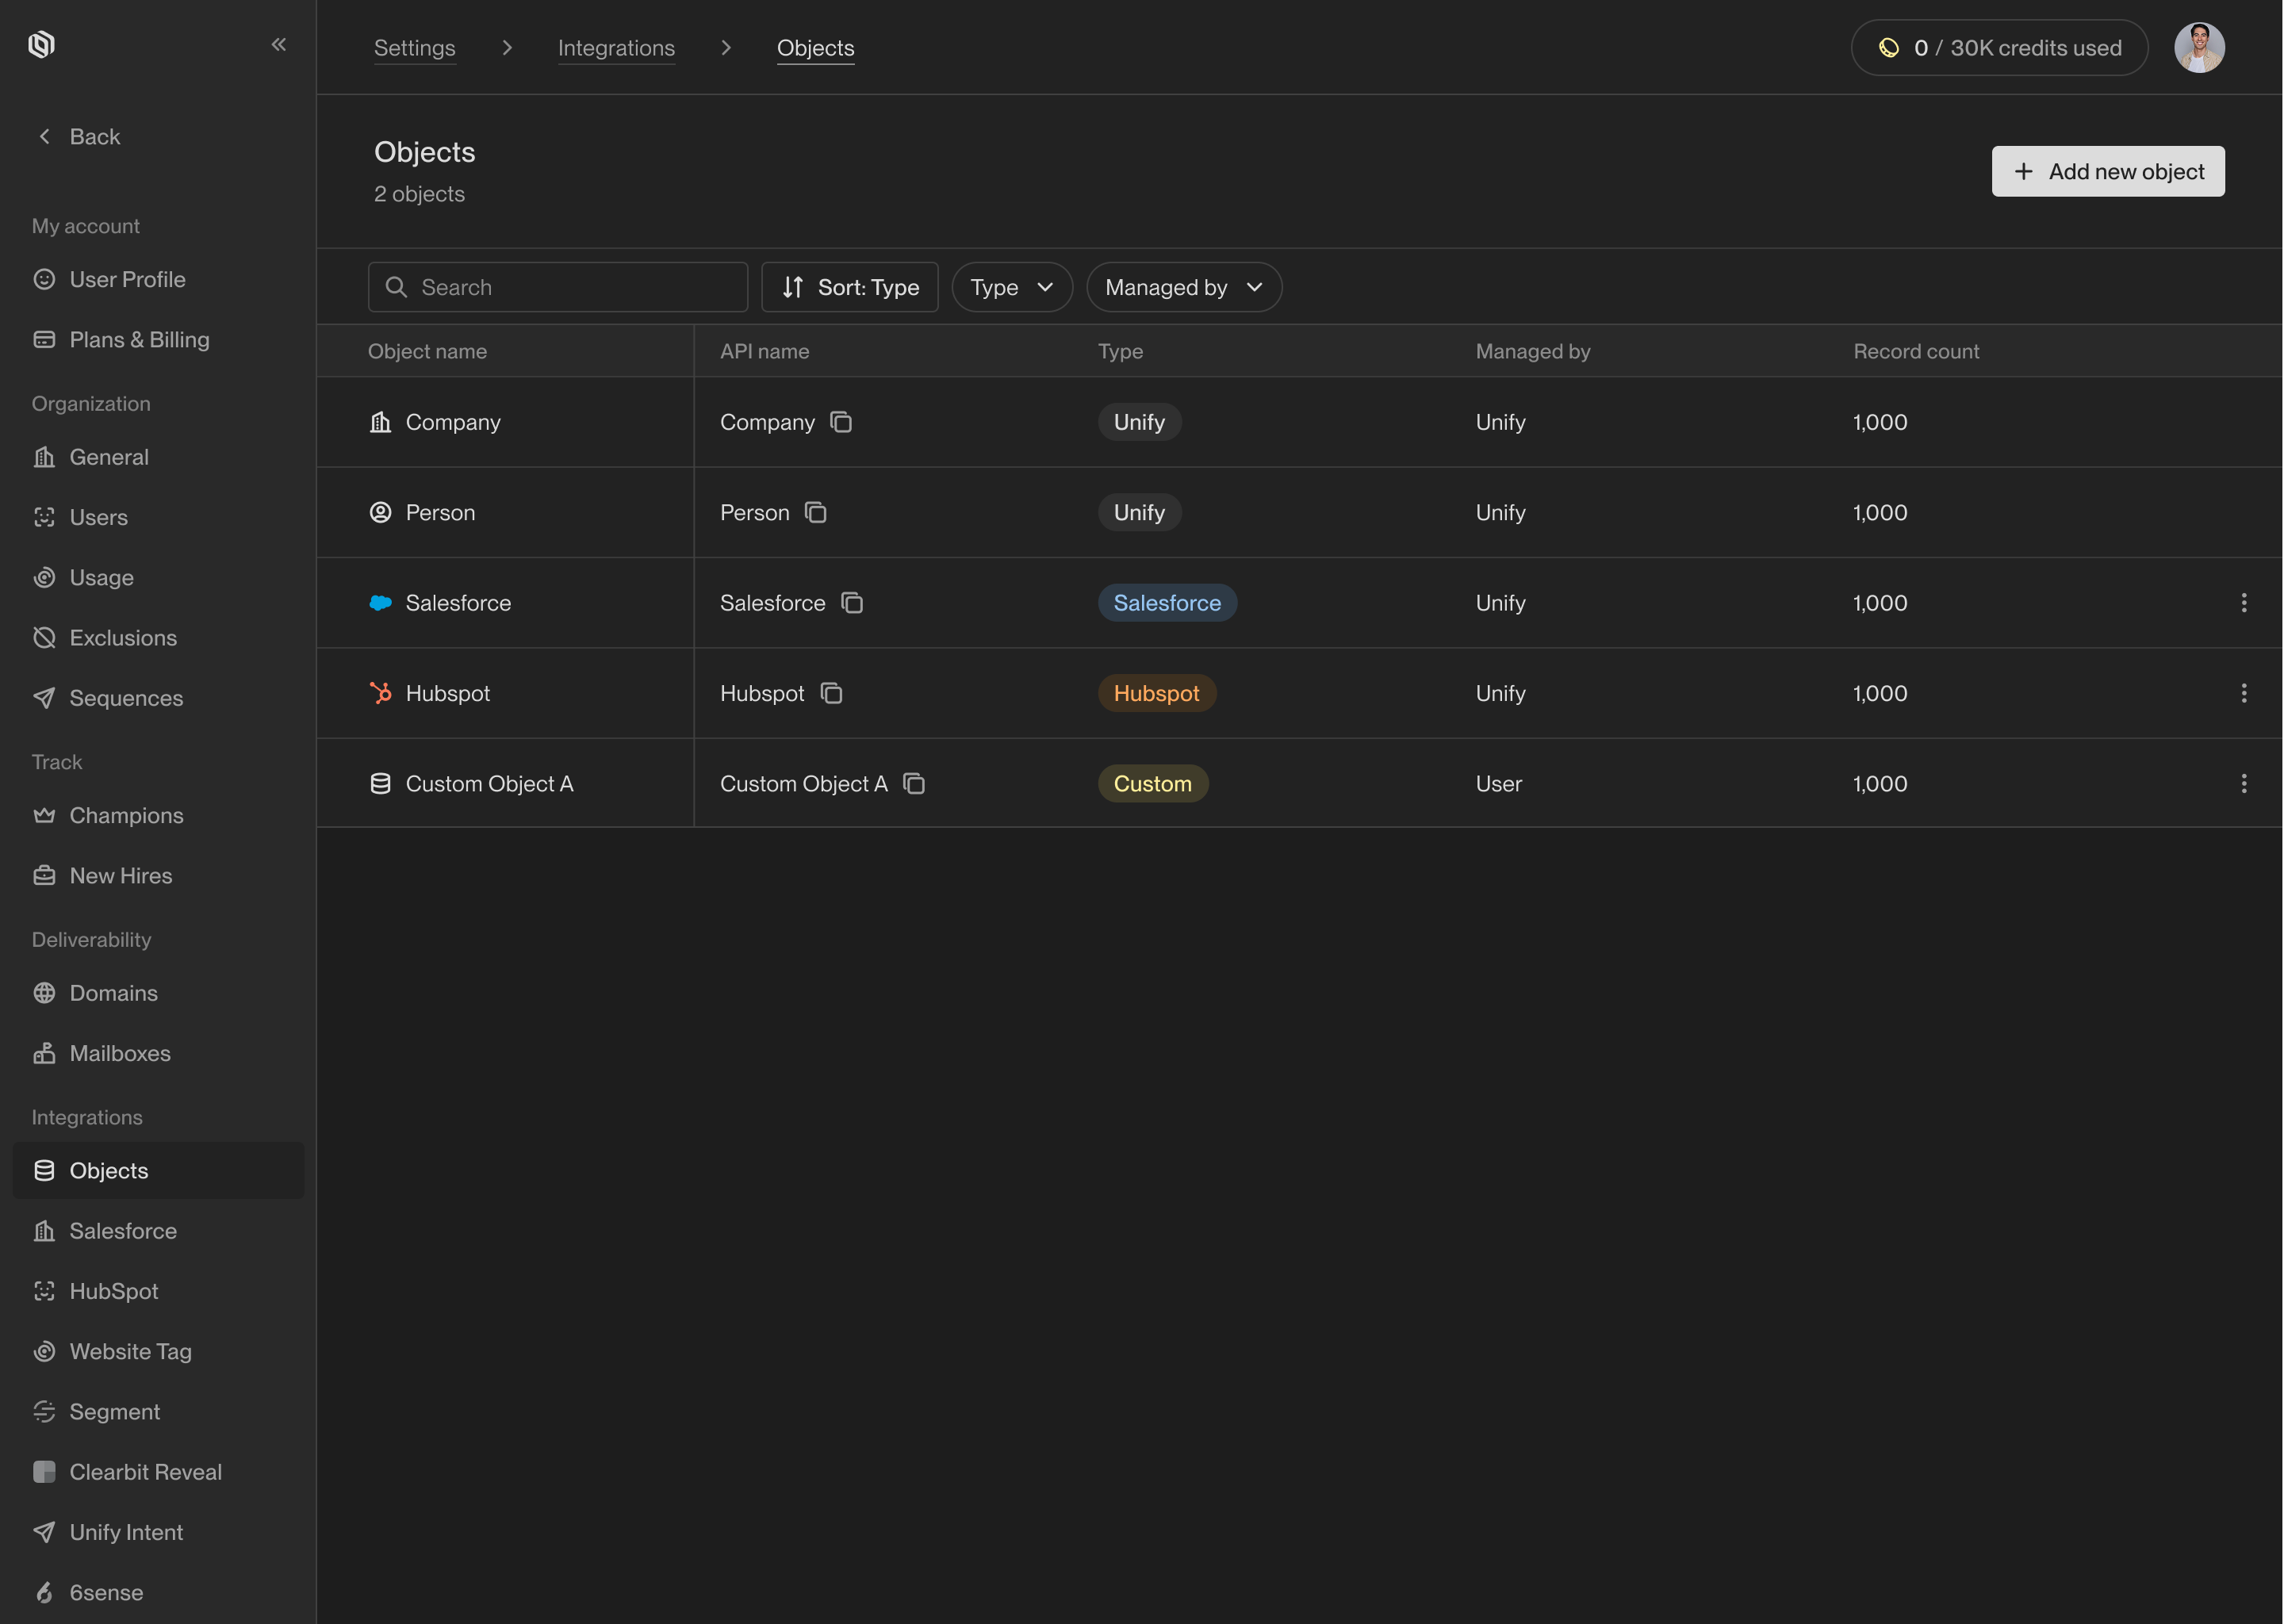
Provide object details
Fill in the display name and the API name for the object. The display
name is a friendly name for the object that will appear within Unify. The
API name is a unique identifier that will be used by developers when using
the API.For example, an object’s display name might be “Product User” and its API
name might be 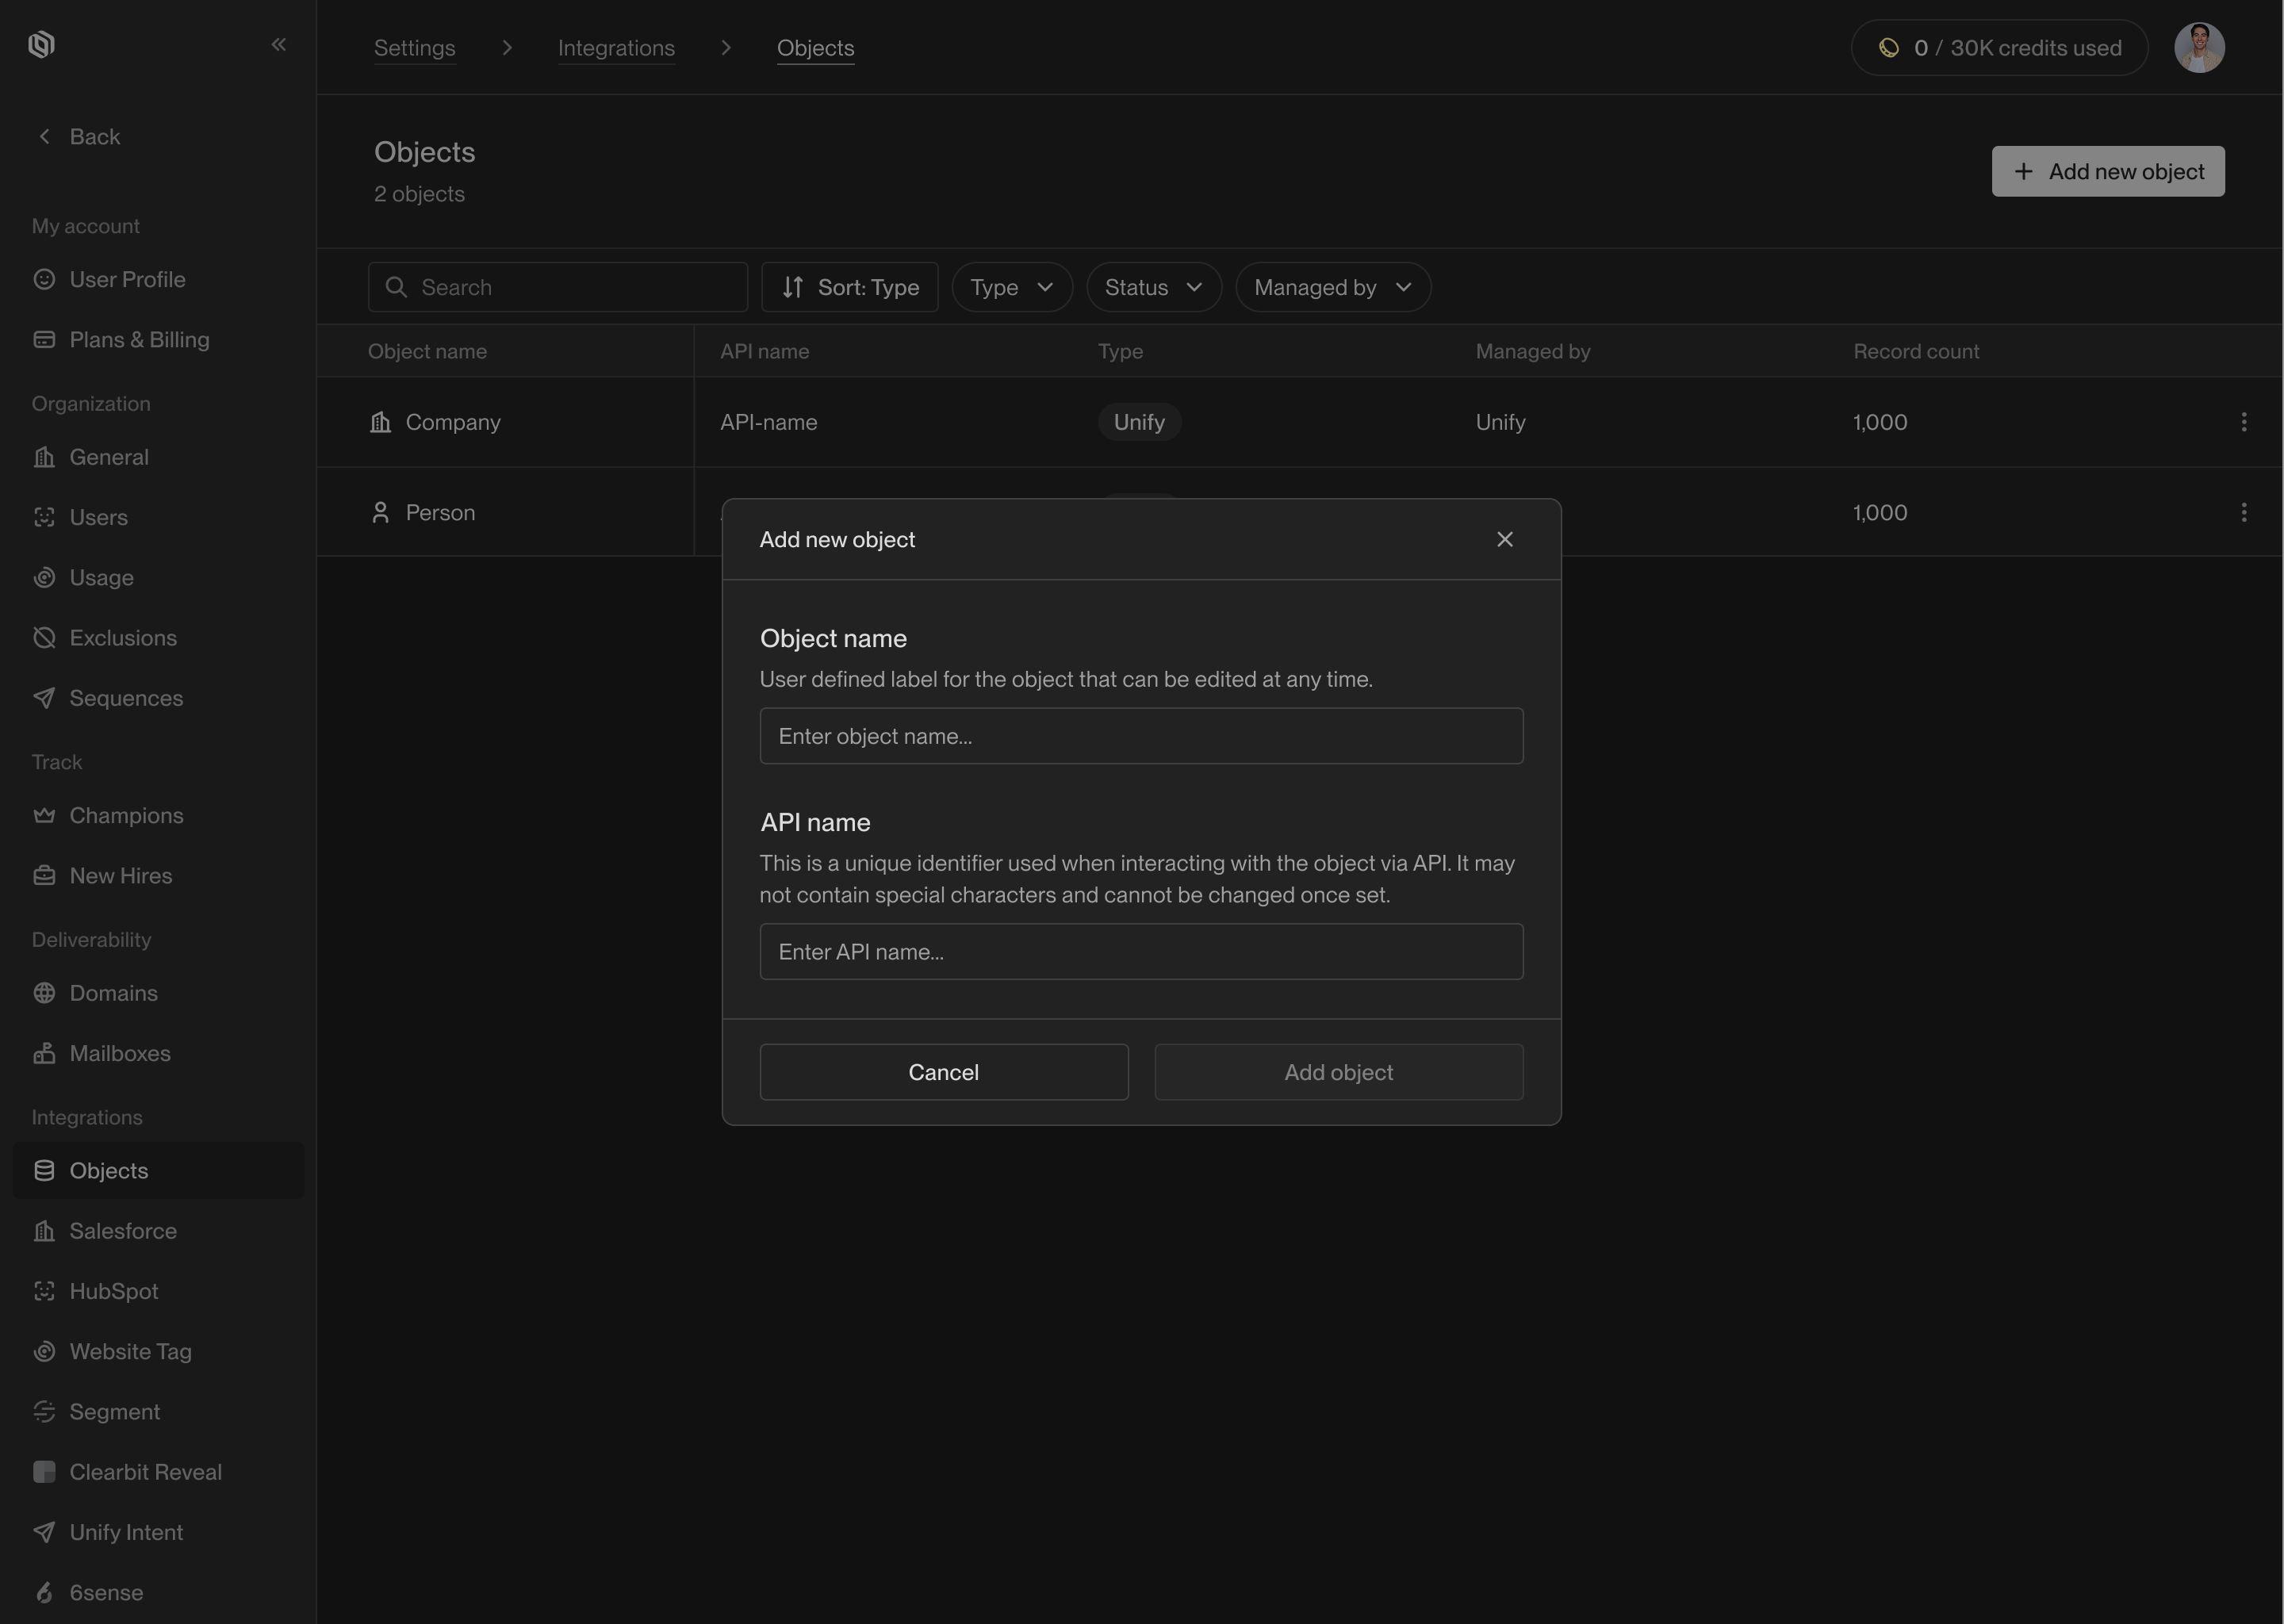
product_user. A suitable API name will be generated
automatically, and typically there is no need to change it.Save the object
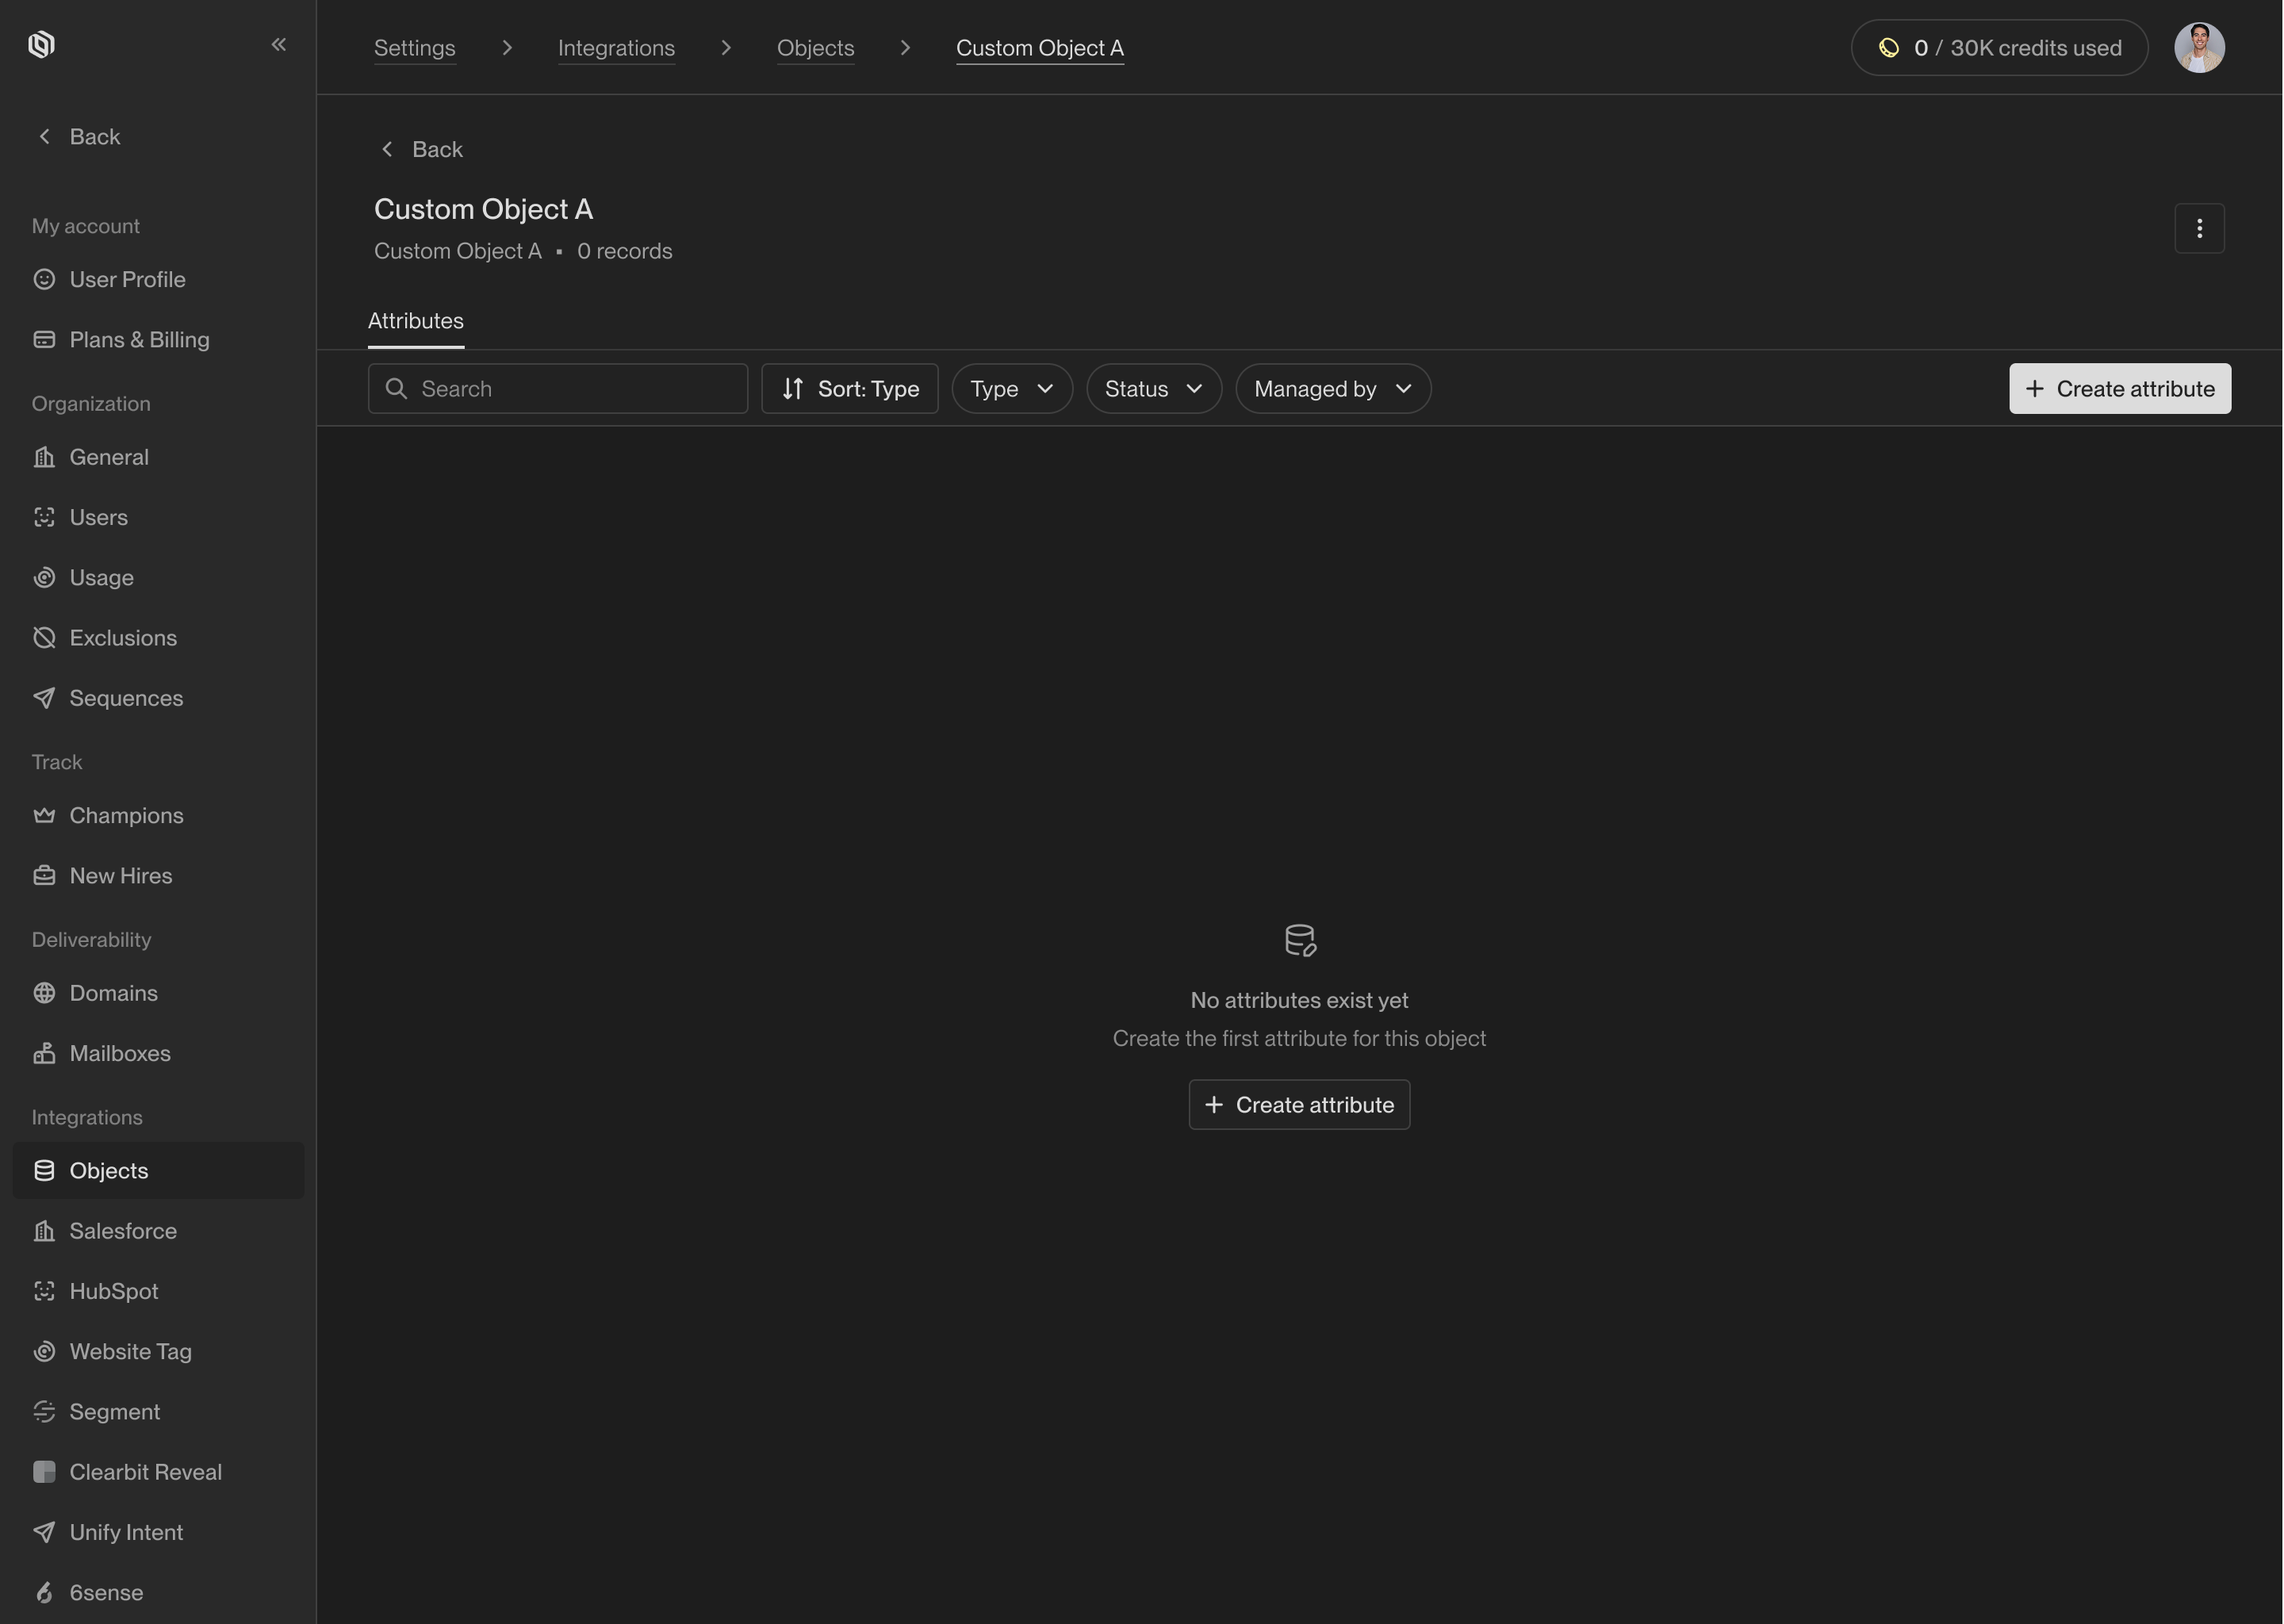
Select Add object to save the object. You will see a new page where all
of the object’s attributes are listed. When you first create an object, it
will have no attributes.