> ## Documentation Index
> Fetch the complete documentation index at: https://unify-19-preview.mintlify.site/llms.txt
> Use this file to discover all available pages before exploring further.
# Segment integration guide
> Send Segment events into Unify.
## Overview
If you use Segment to collect website analytics, Unify can be connected to your
Segment workspace as a destination to reveal web traffic data. This will also
let you build audiences and Plays using Segment analytics data.
## Steps
If you’re also using the Unify Tag, ensure it isn’t running on the same
pages as Segment. Otherwise, events may be double counted.
### Generate a key in Unify
1. Log in to Unify
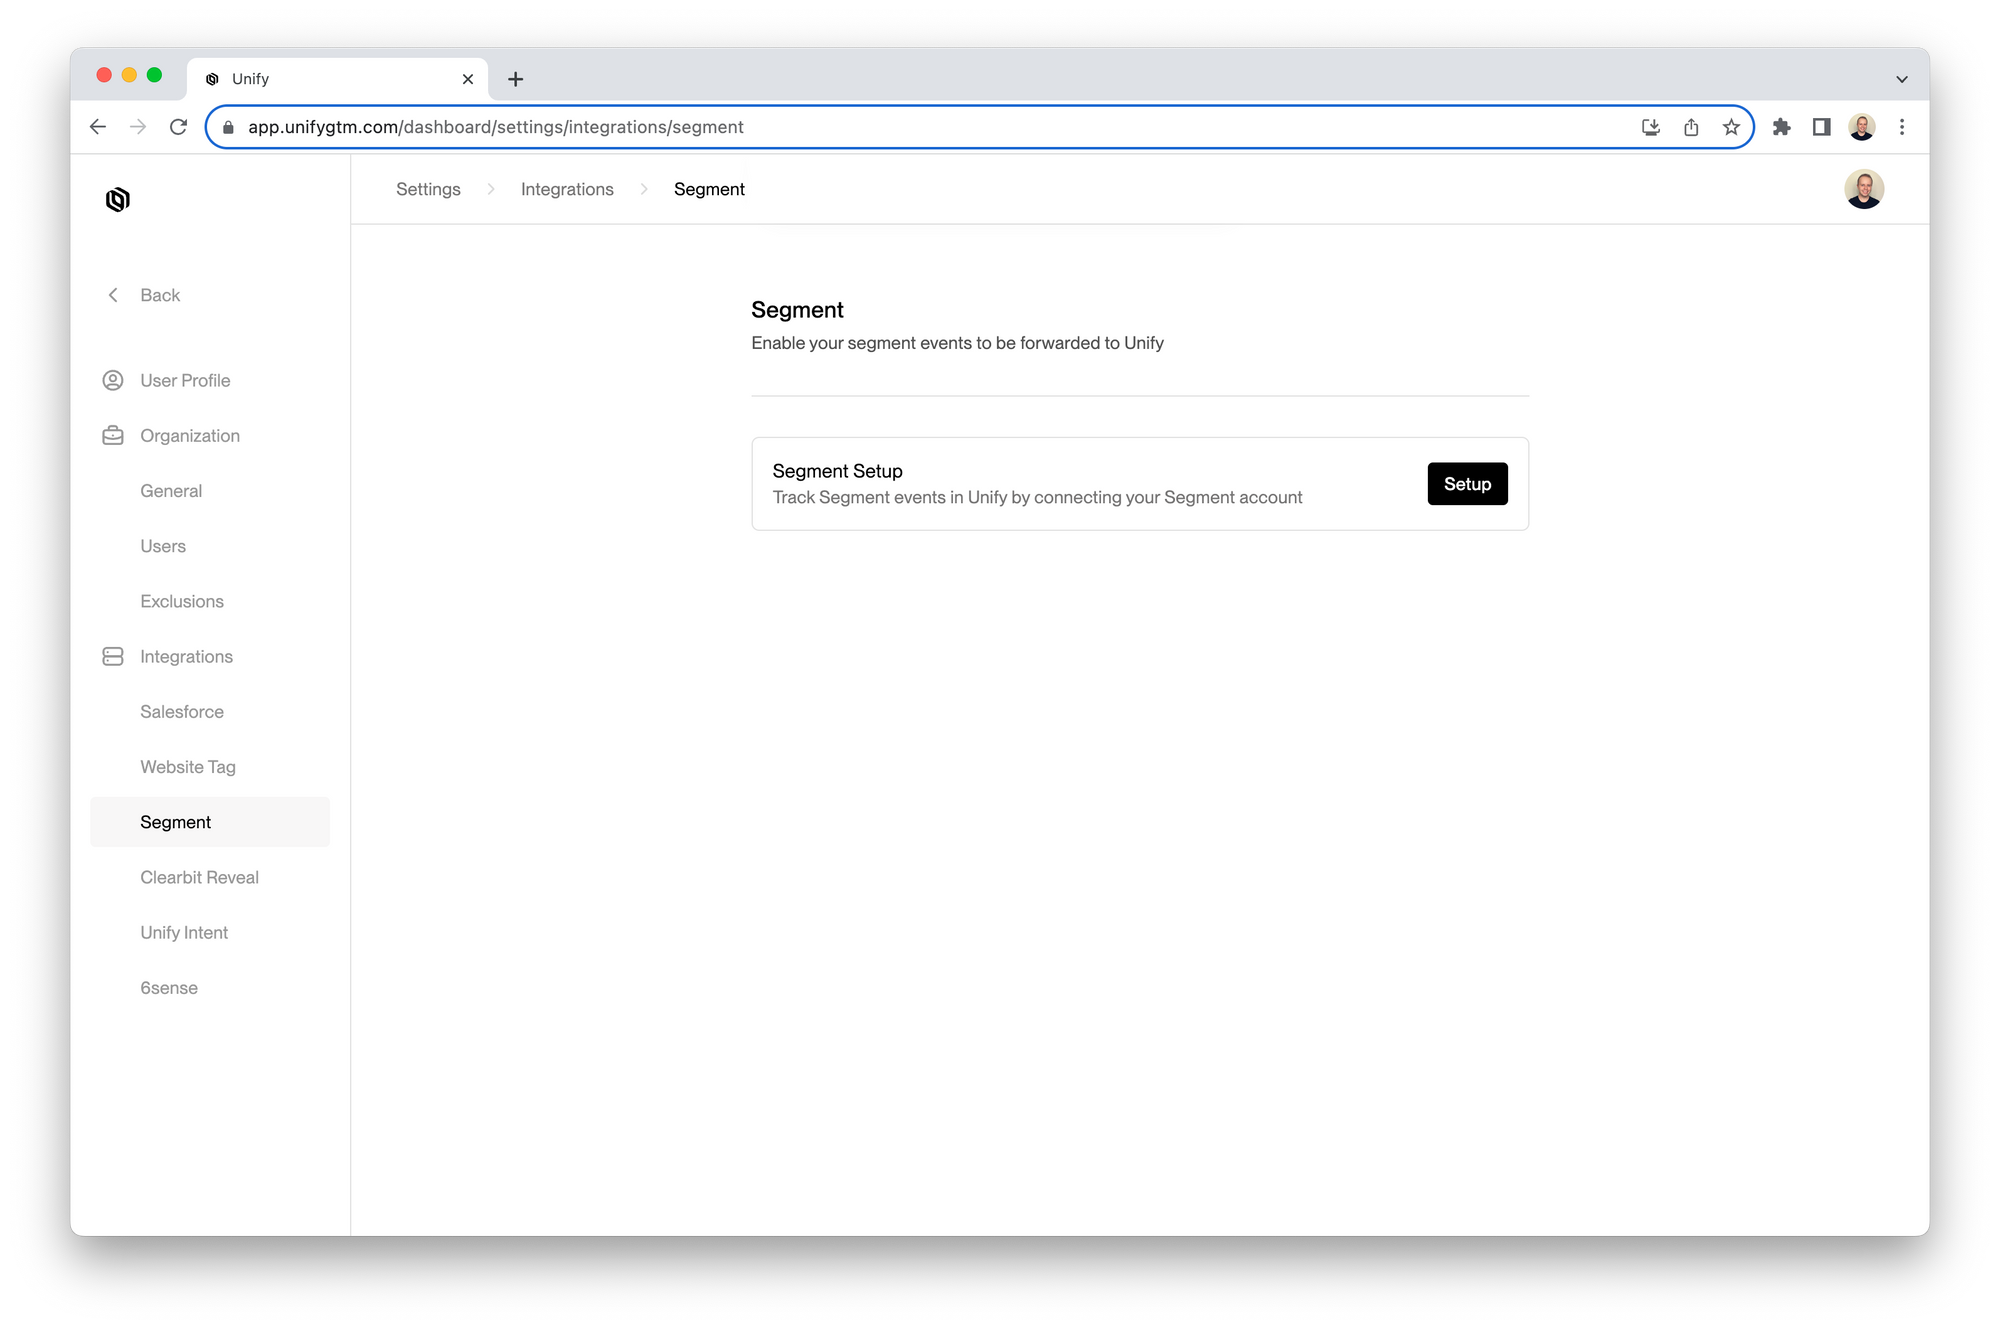
2. Navigate to [Settings → Integrations → Segment](https://app.unifygtm.com/dashboard/settings/integrations/segment) and click **Setup**
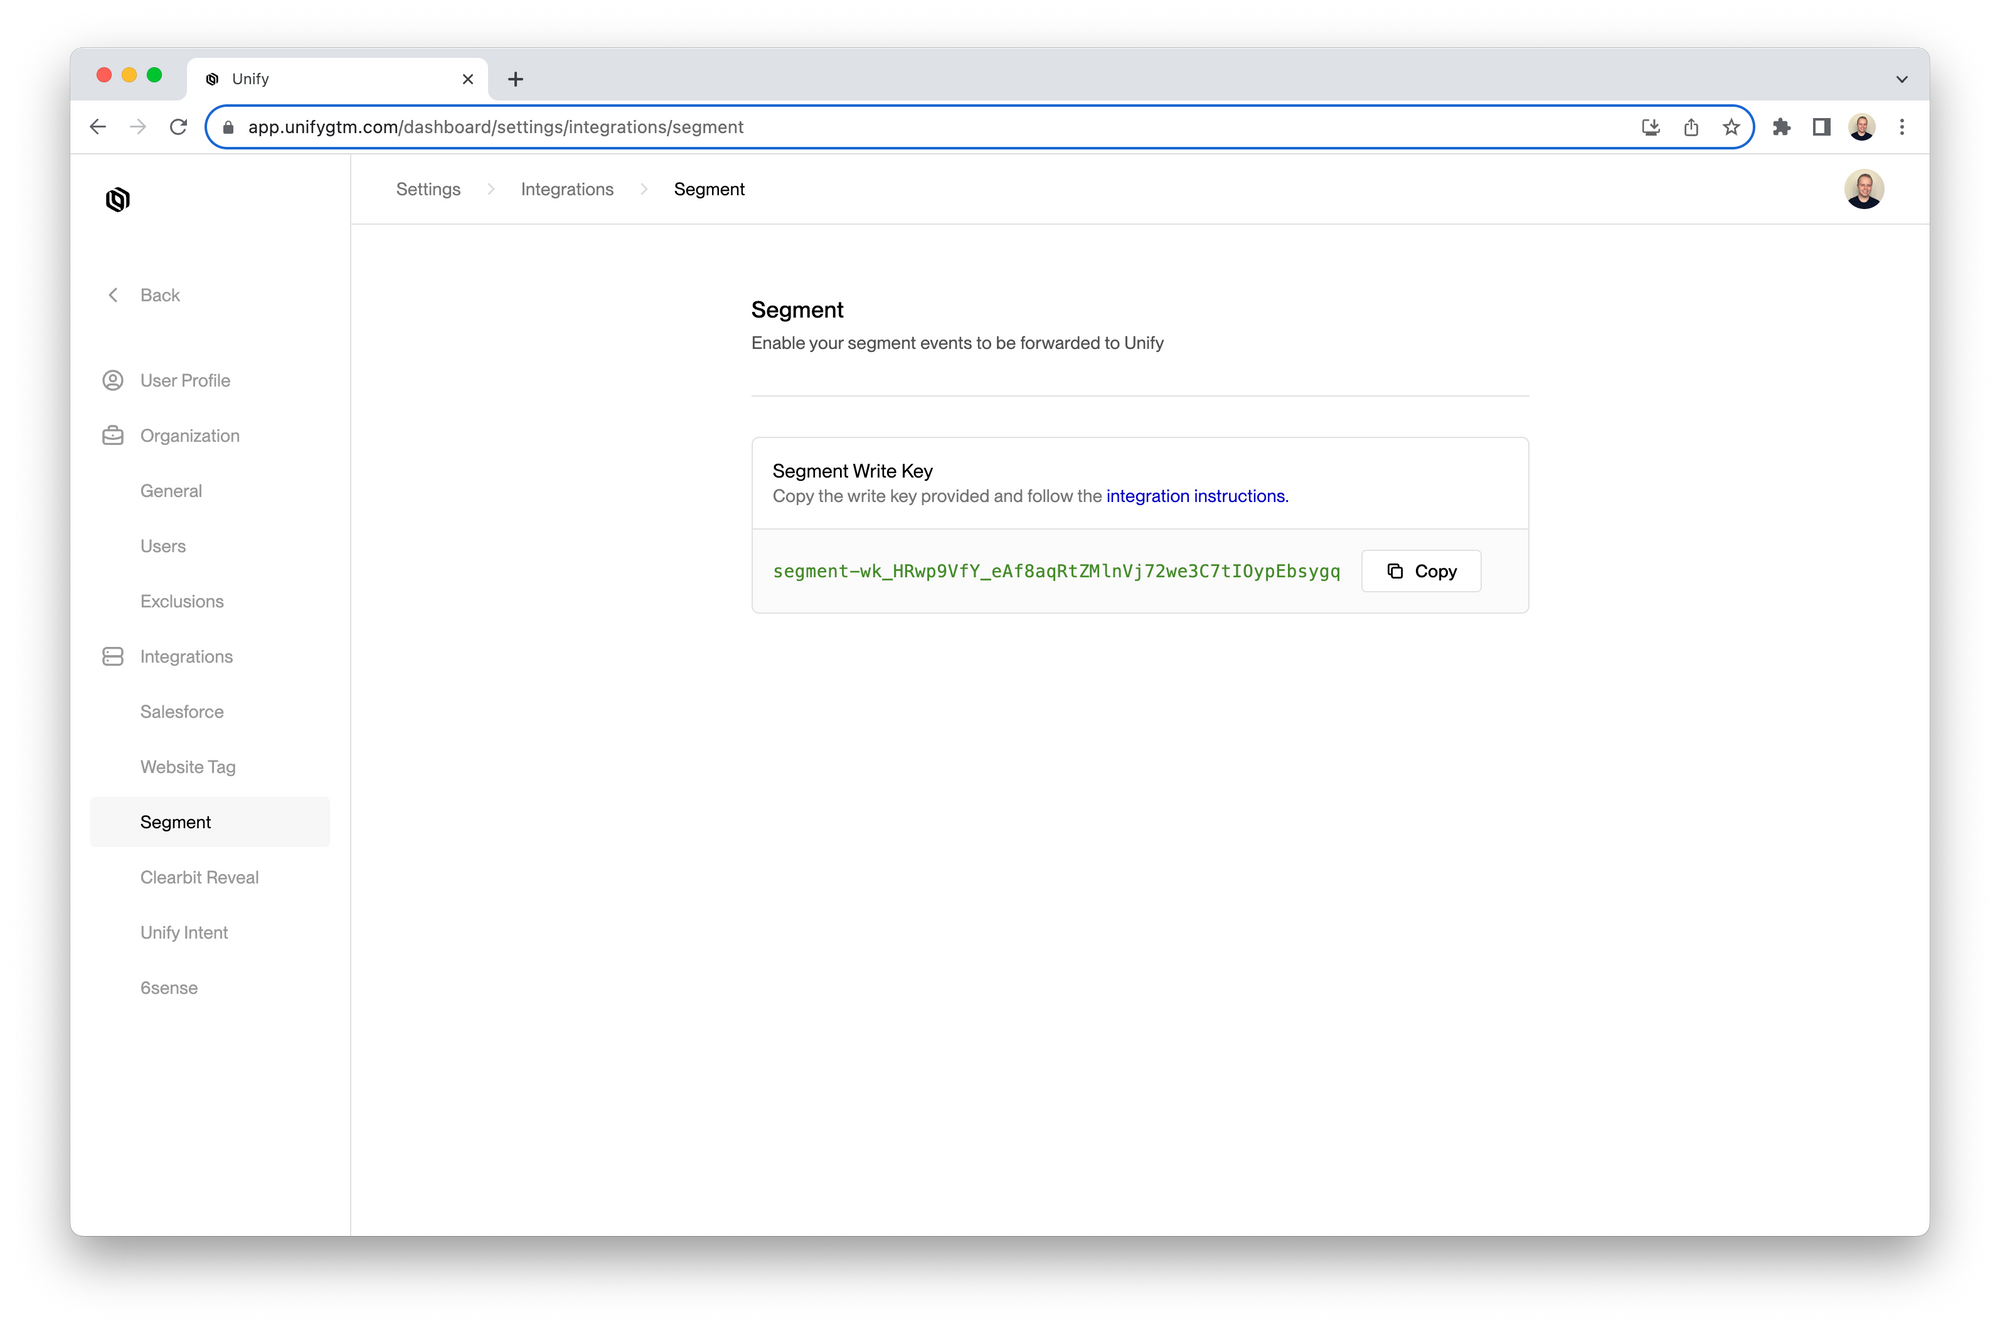
 3. Click the **Copy** button to copy the write key to your clipboard
 ### Add Segment destination
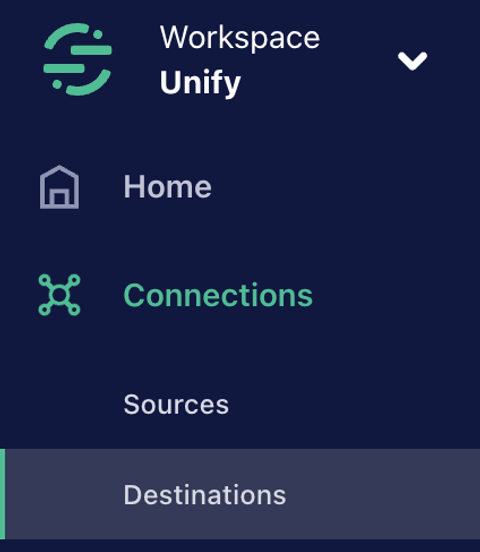
1. Log in to Segment and click on the **Destinations** tab in the sidebar
### Add Segment destination
1. Log in to Segment and click on the **Destinations** tab in the sidebar
 2. Click **Add destination** in the top right corner
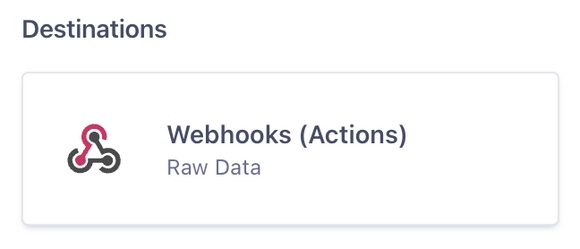
 3. Search for “webhook” and select the **Webhook (actions)** destination
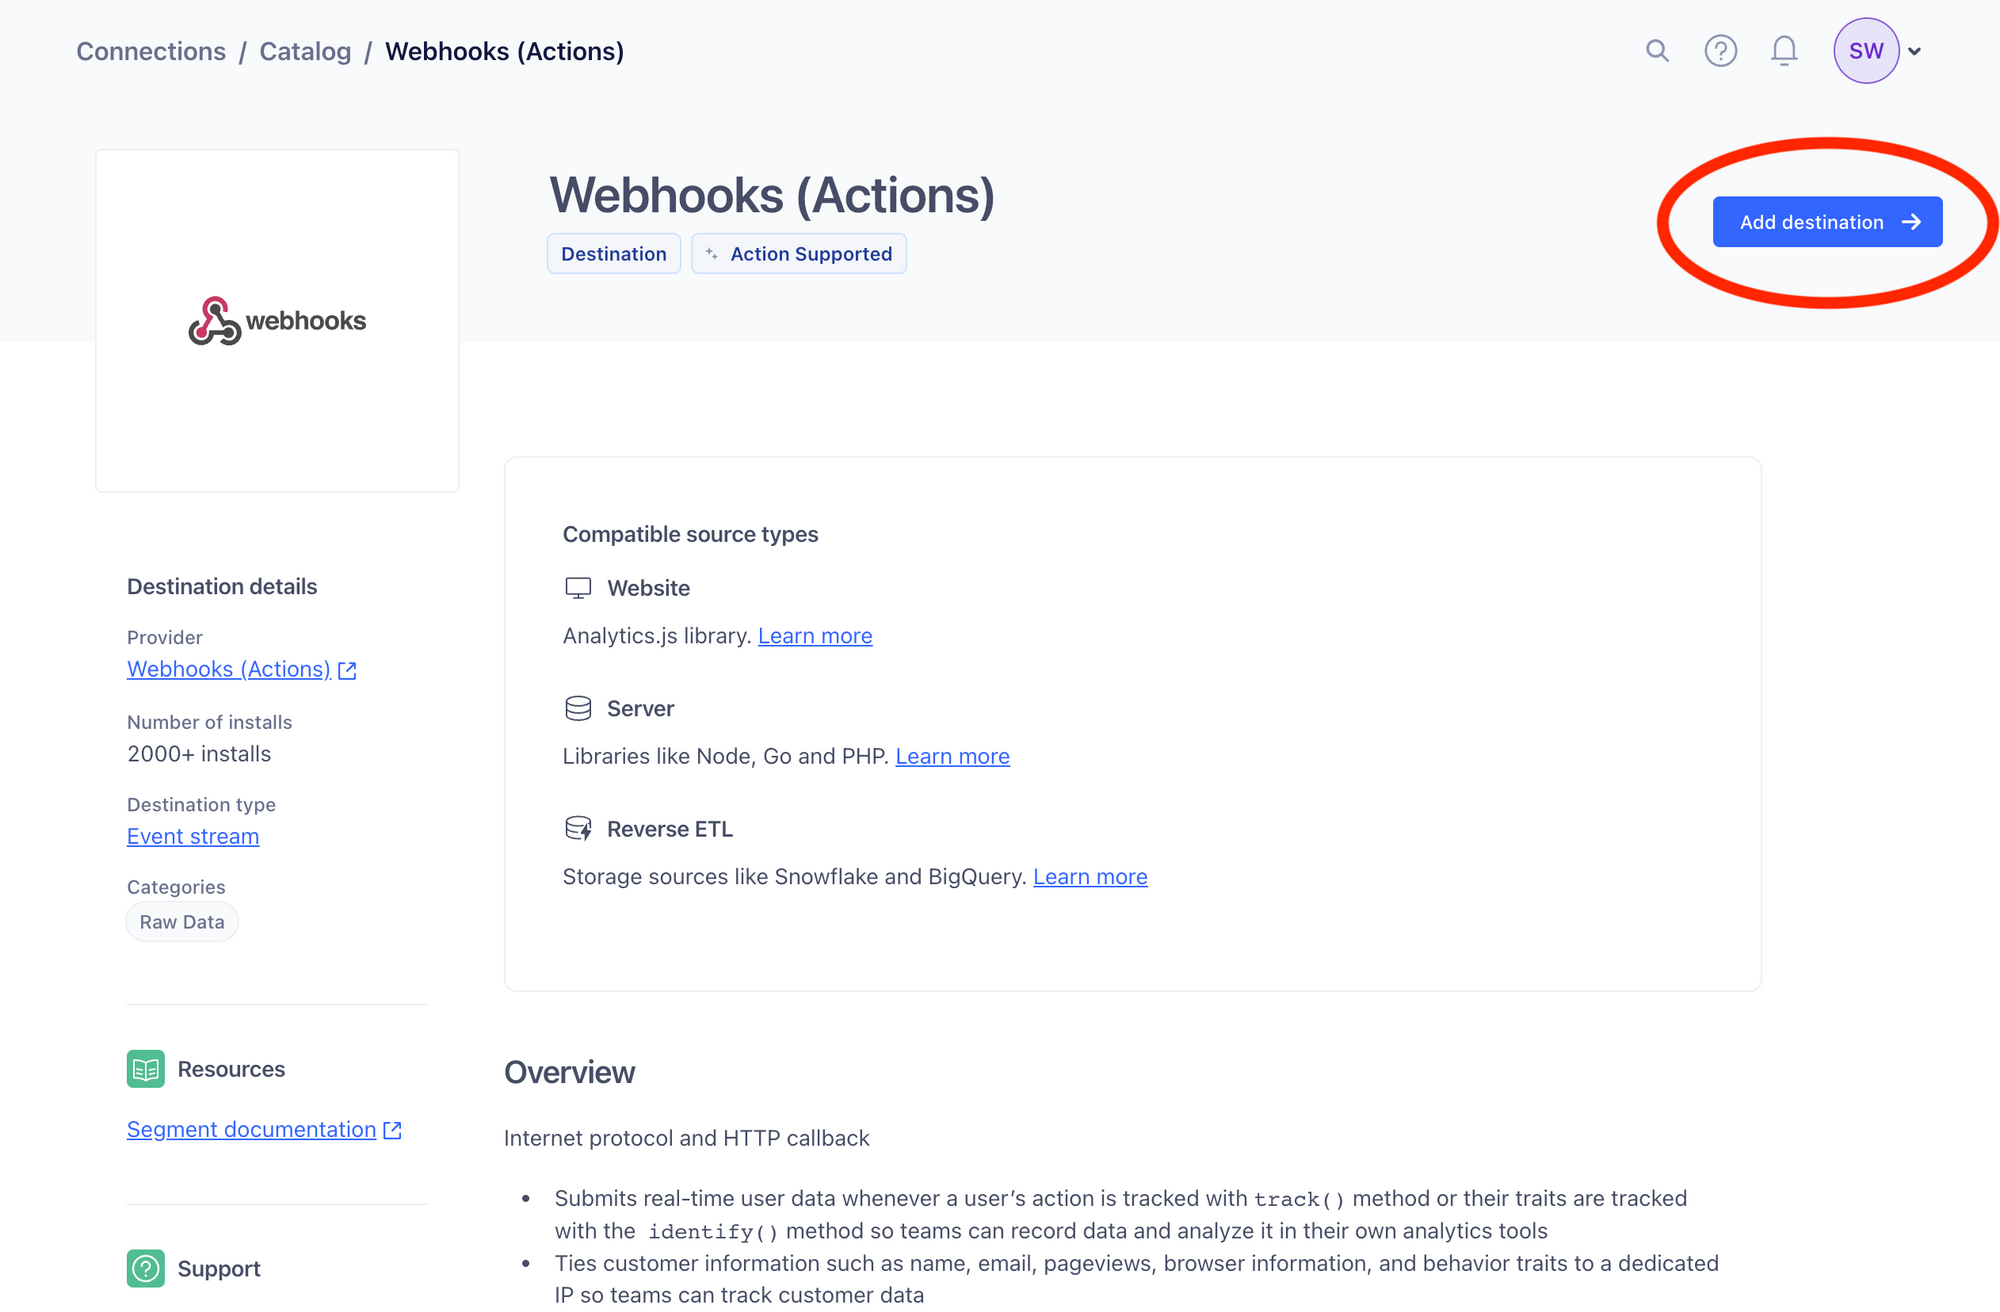
 4. Click **Add destination** again in the top right corner
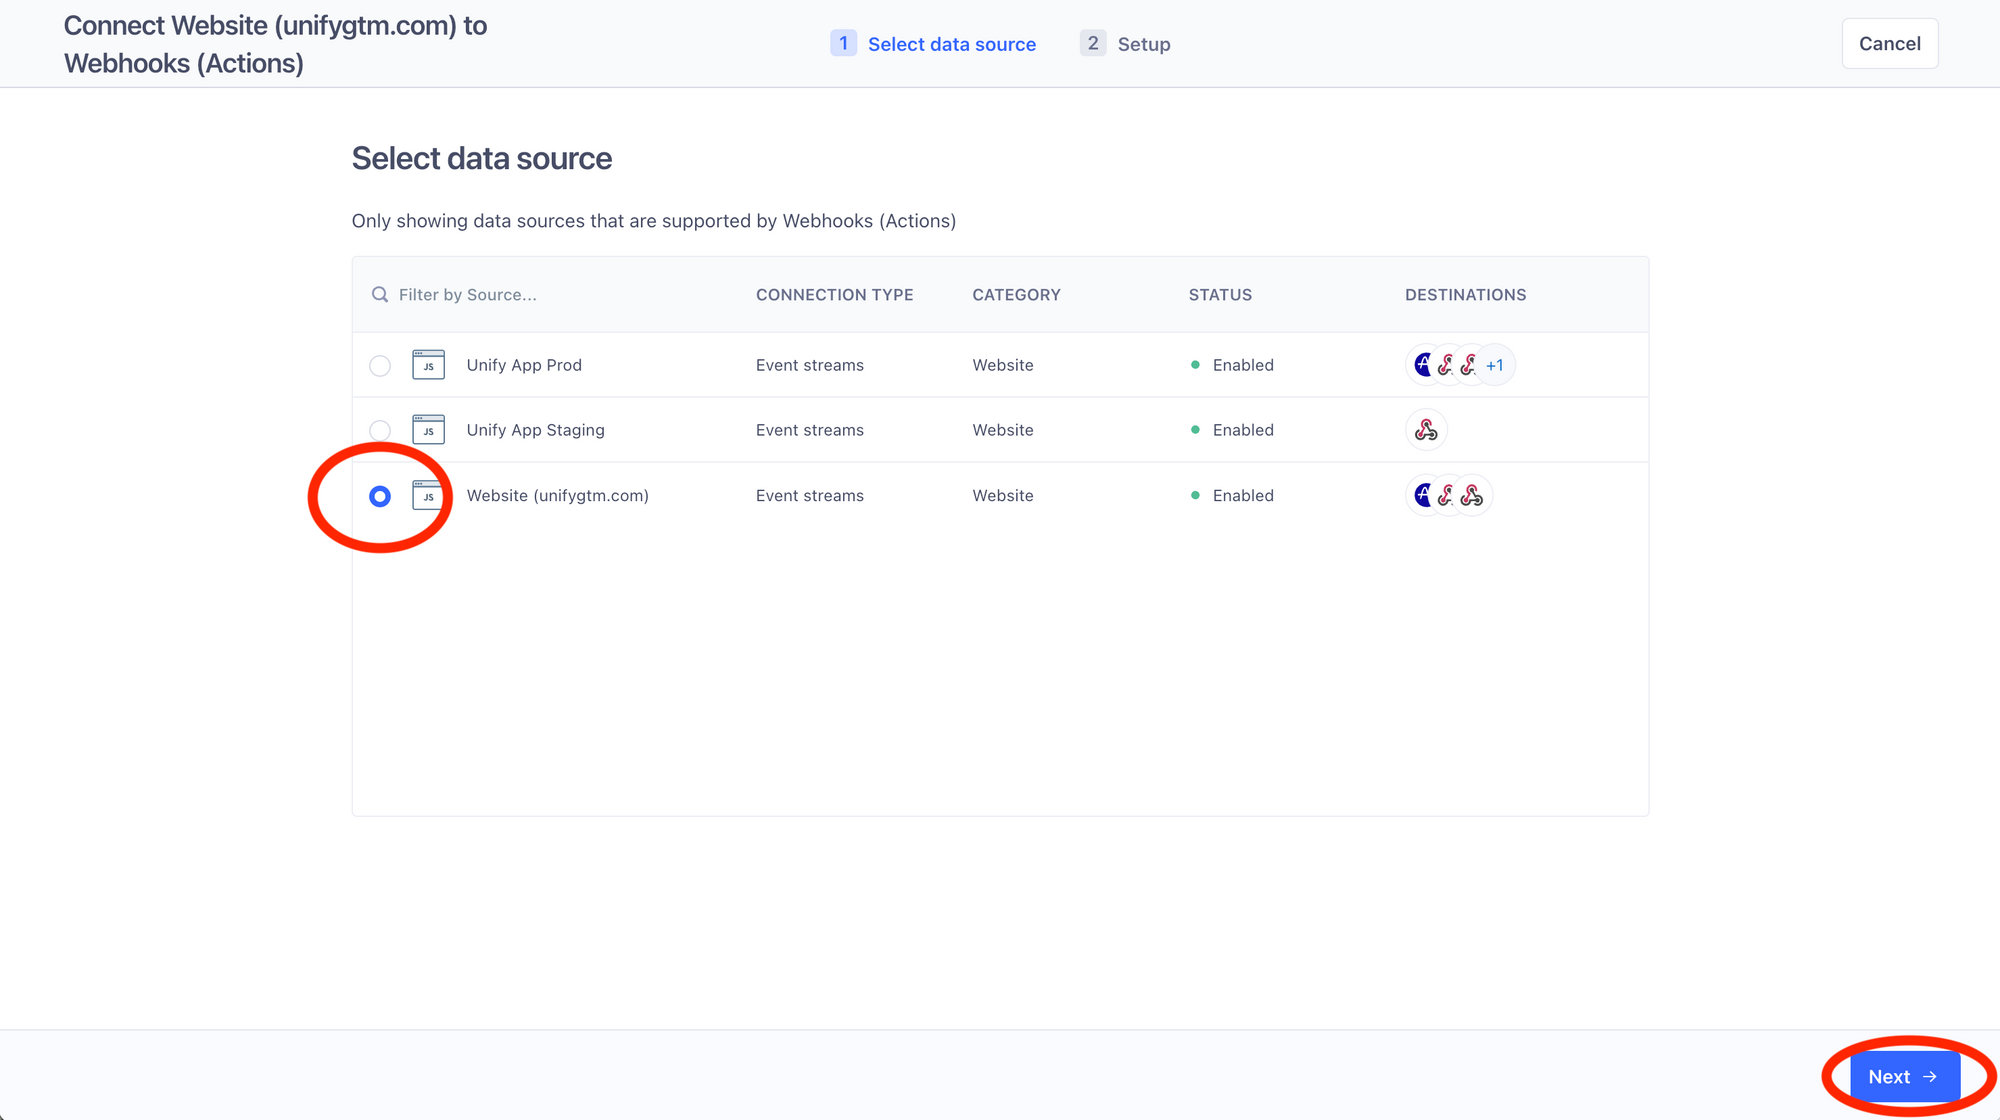
 5. Select website source whose data you want to send to Unify and then click **Next**
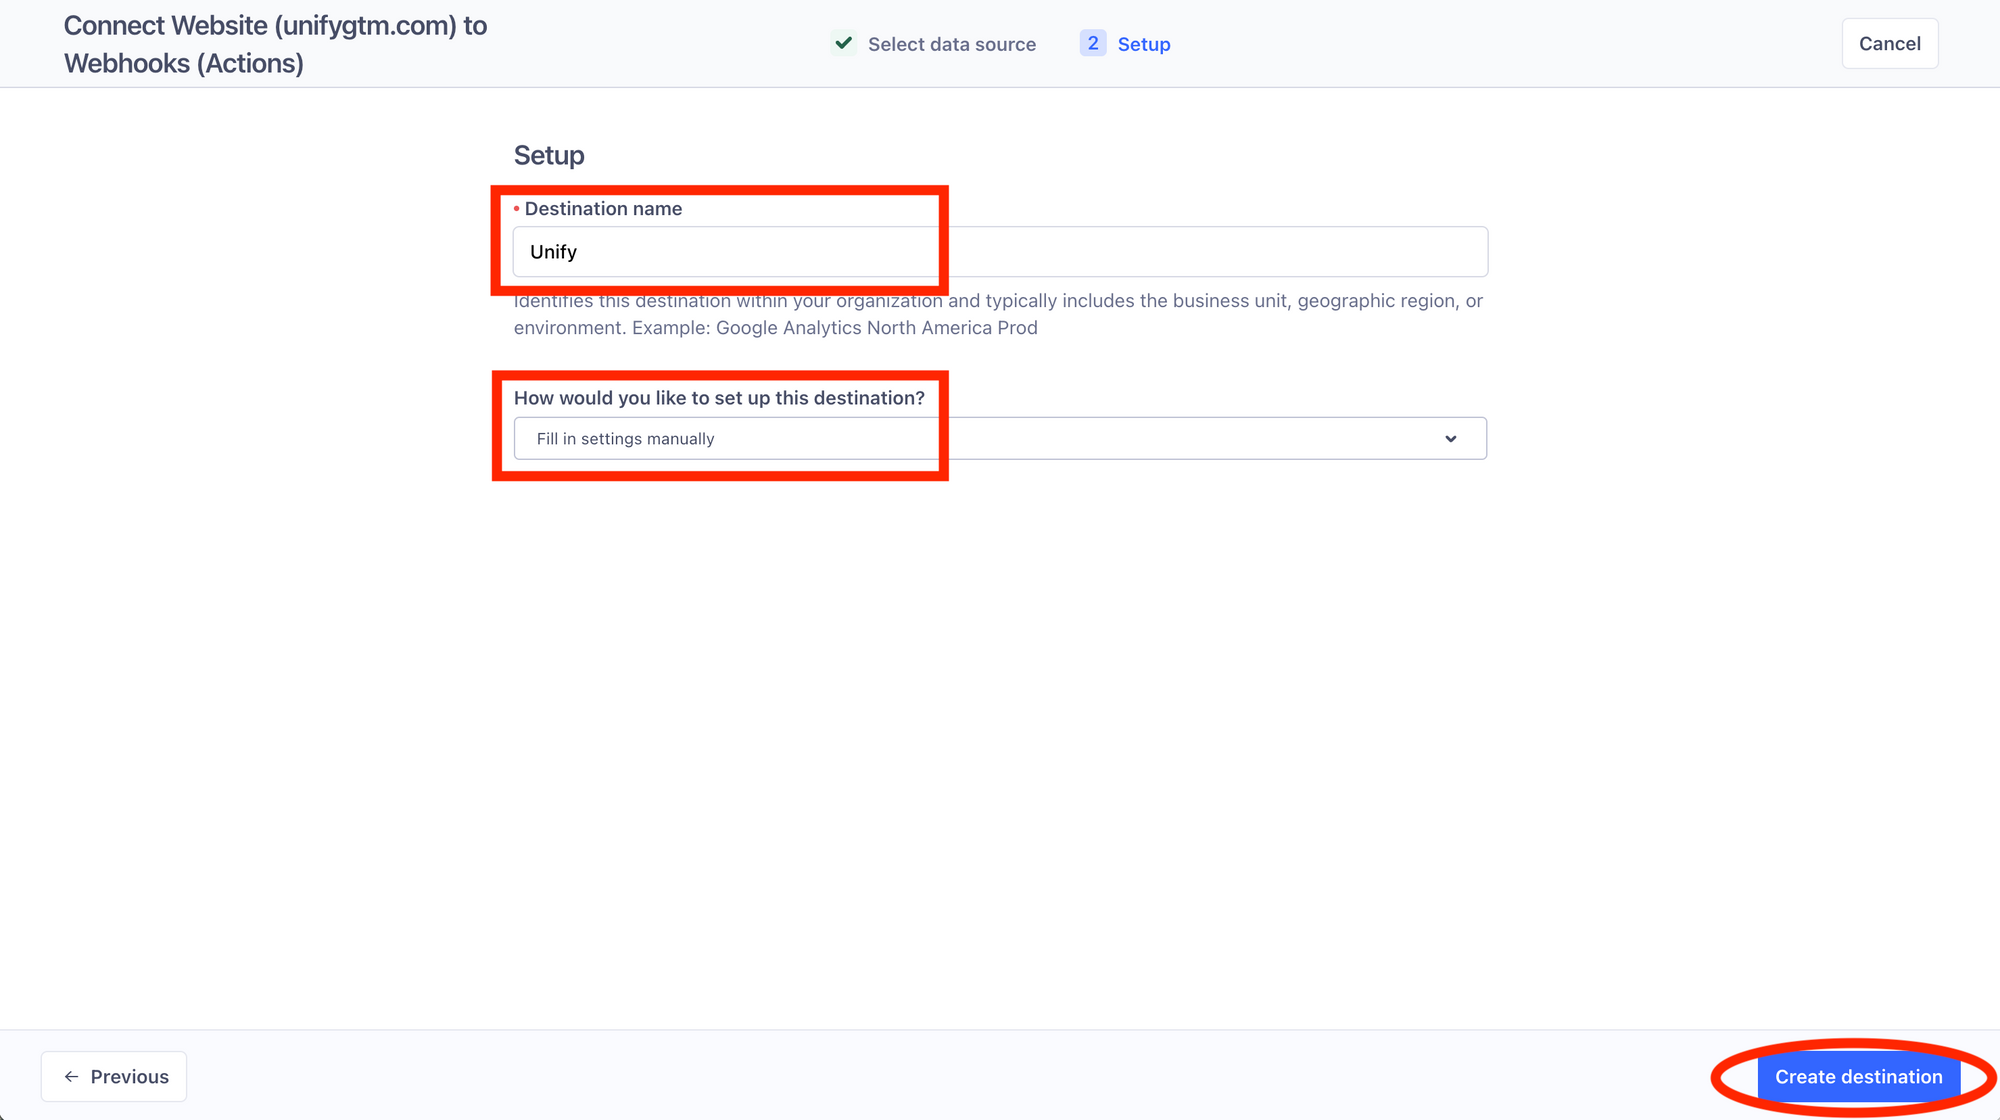
 6. Give this destination a name, make sure **Fill in settings manually** is selected, and click **Create destination**
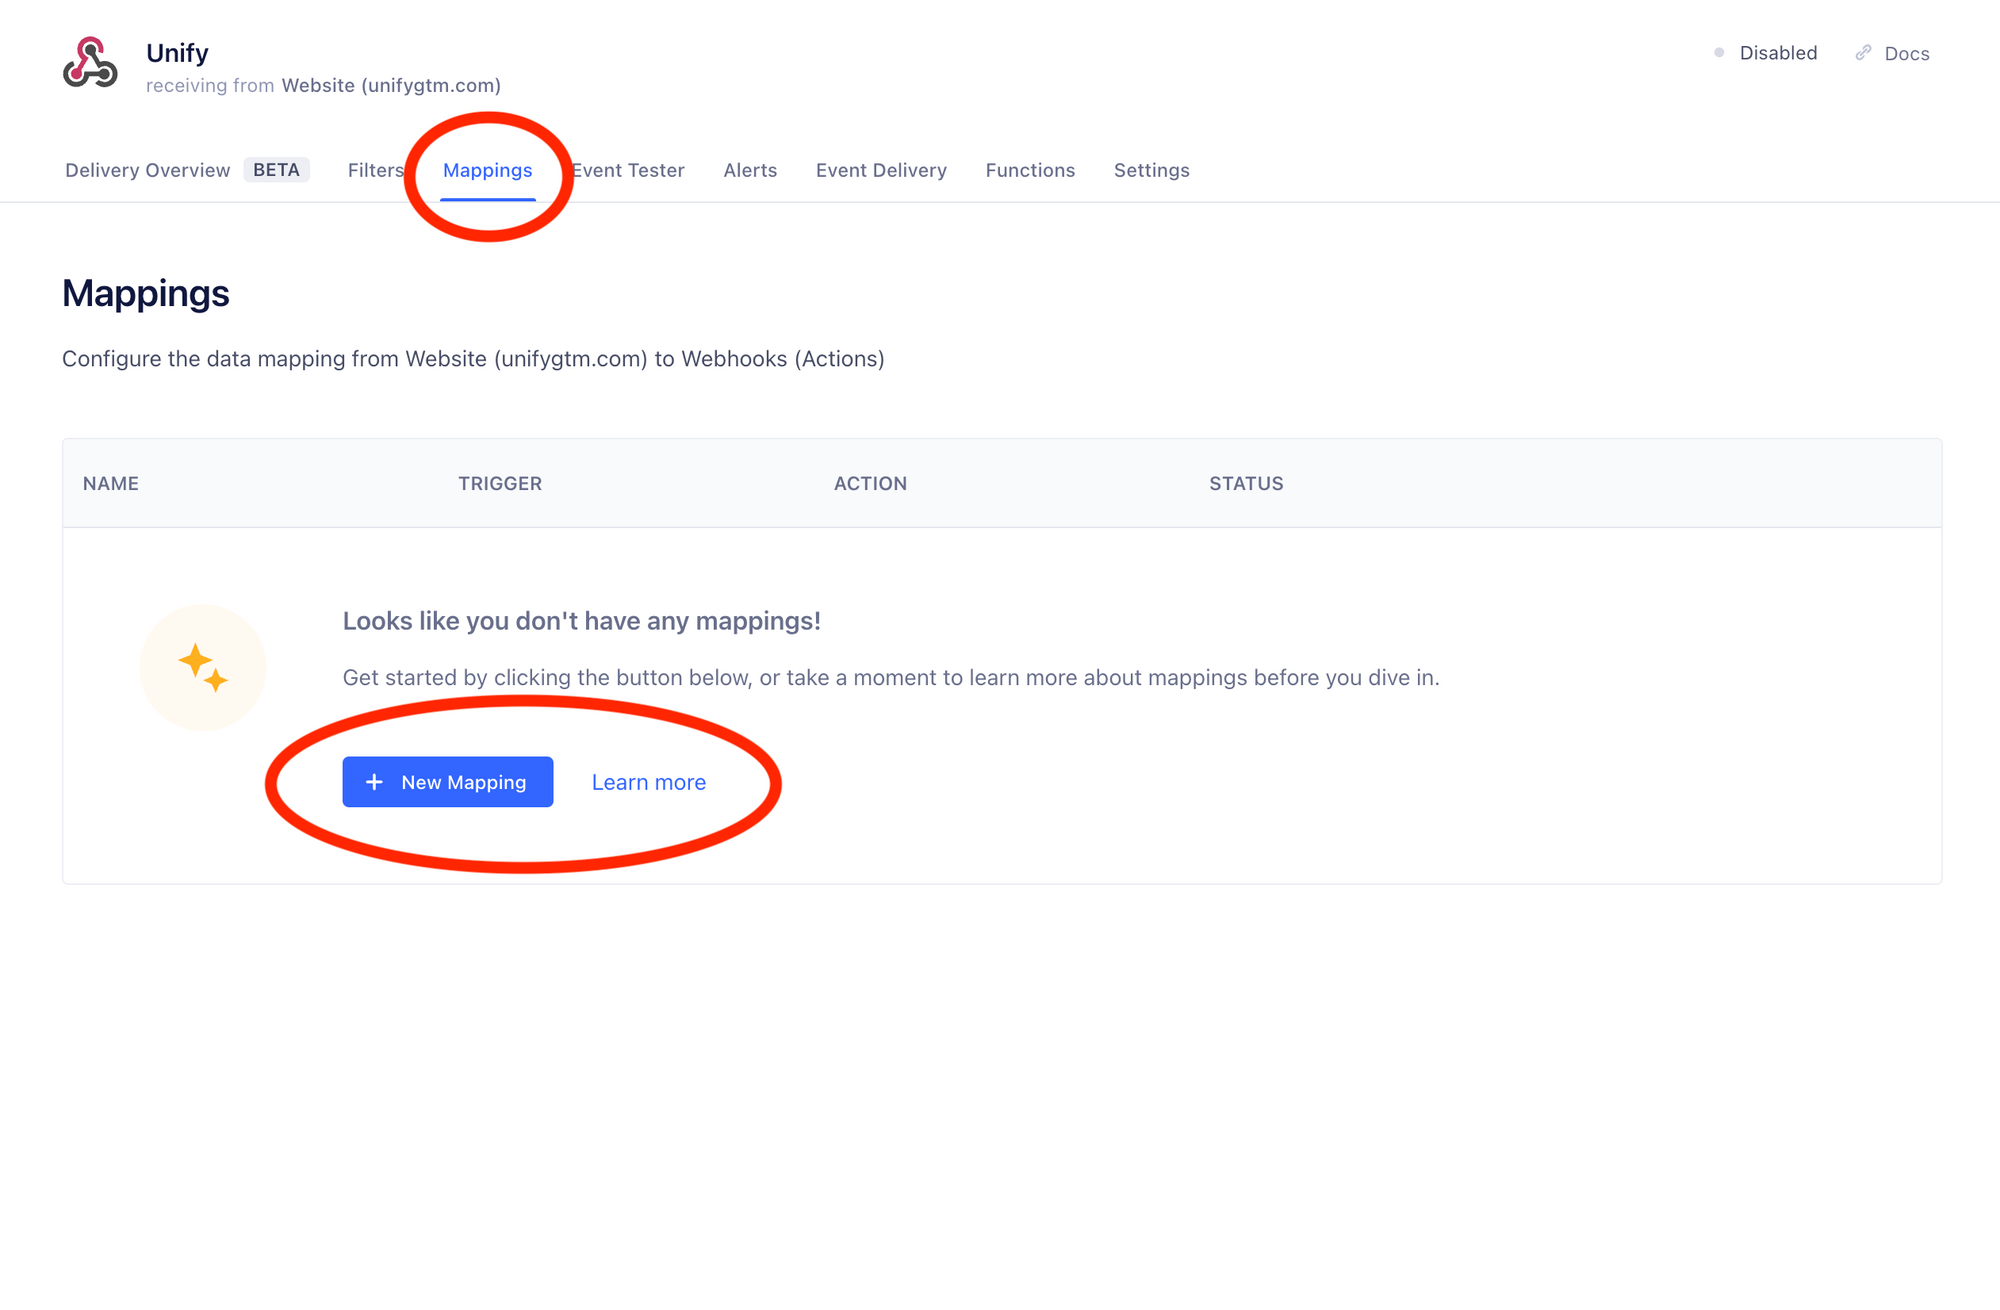
 7. Click on the **Mappings** tab on the top and then select **New Mapping**
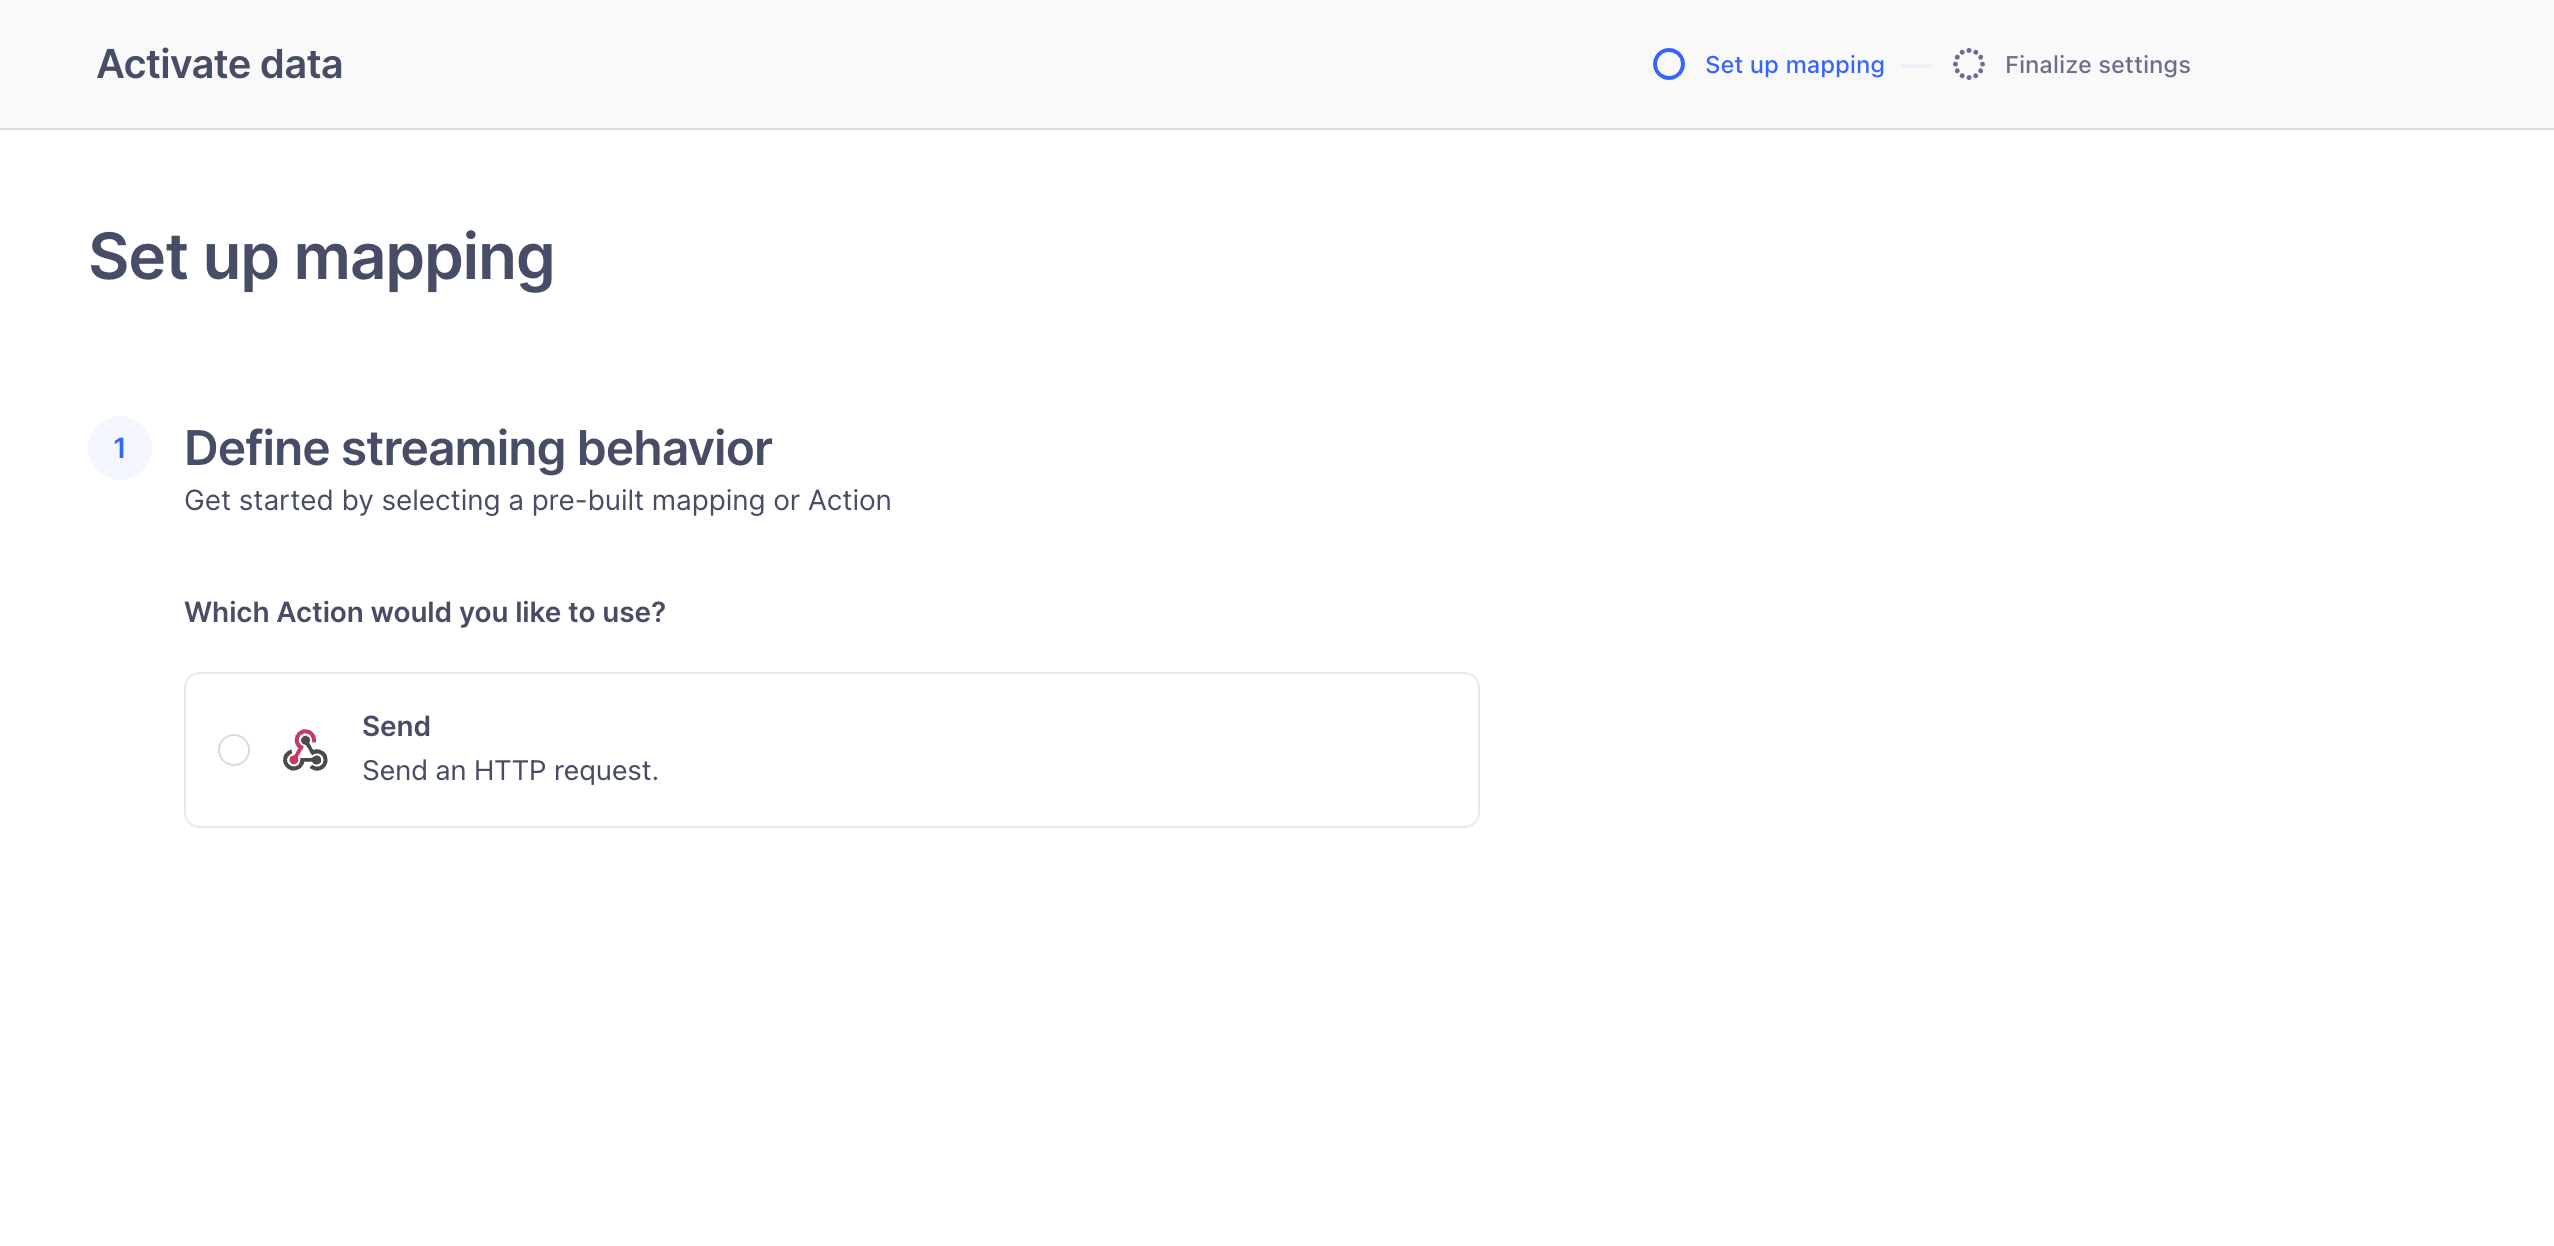
 8. Choose the **Send** option
 9. Fill in the following mapping values…
1. Under **Section 2**:
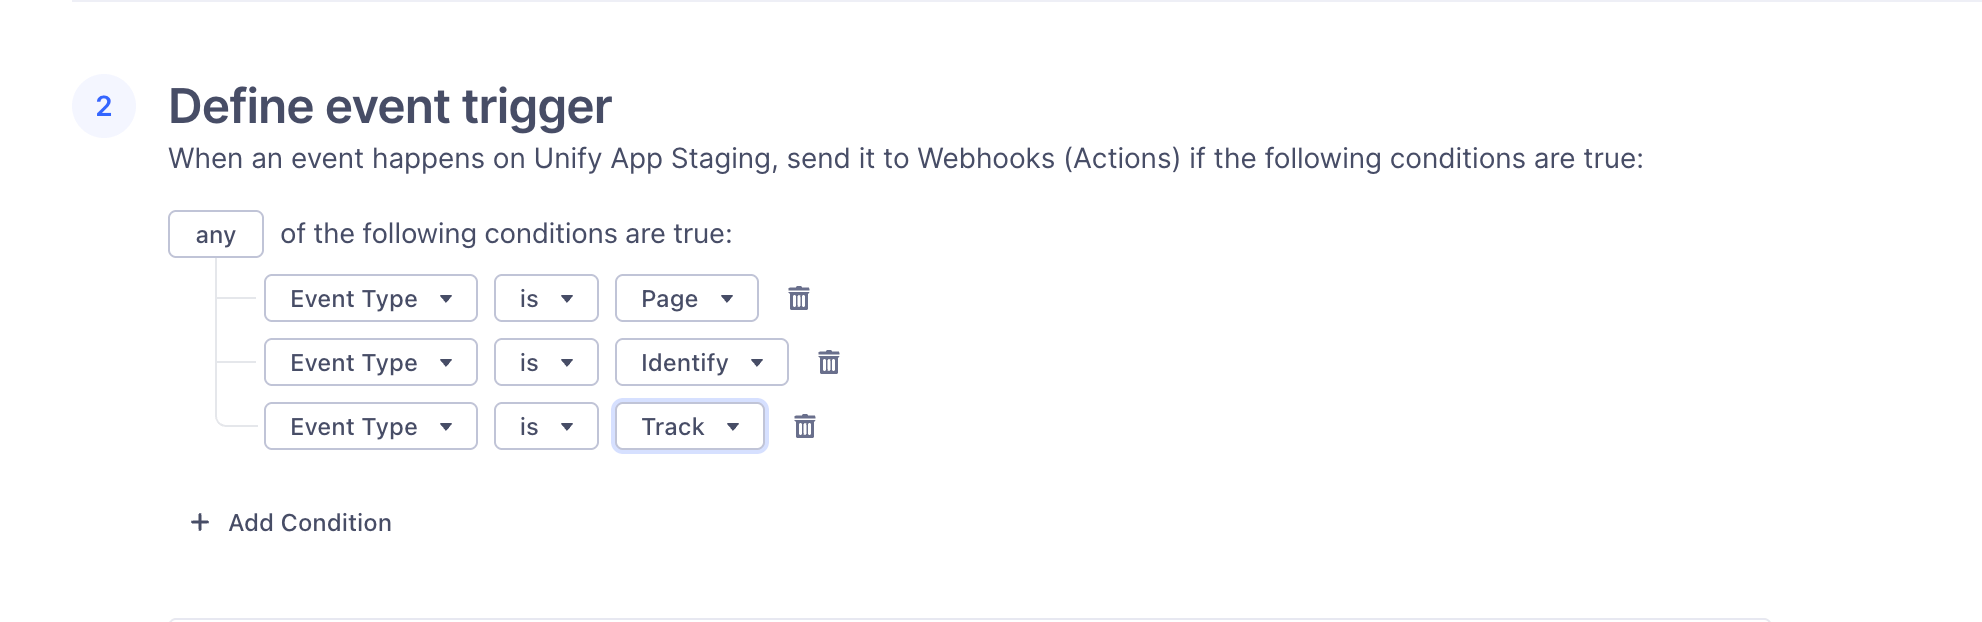
1. Unify currently supports Page, Track, and Identify event types. You should select **Add Condition** for each event type
and select **any**.
2. If there are specific event types that you know you do not want to forward to Unify, you can omit them.
9. Fill in the following mapping values…
1. Under **Section 2**:
1. Unify currently supports Page, Track, and Identify event types. You should select **Add Condition** for each event type
and select **any**.
2. If there are specific event types that you know you do not want to forward to Unify, you can omit them.
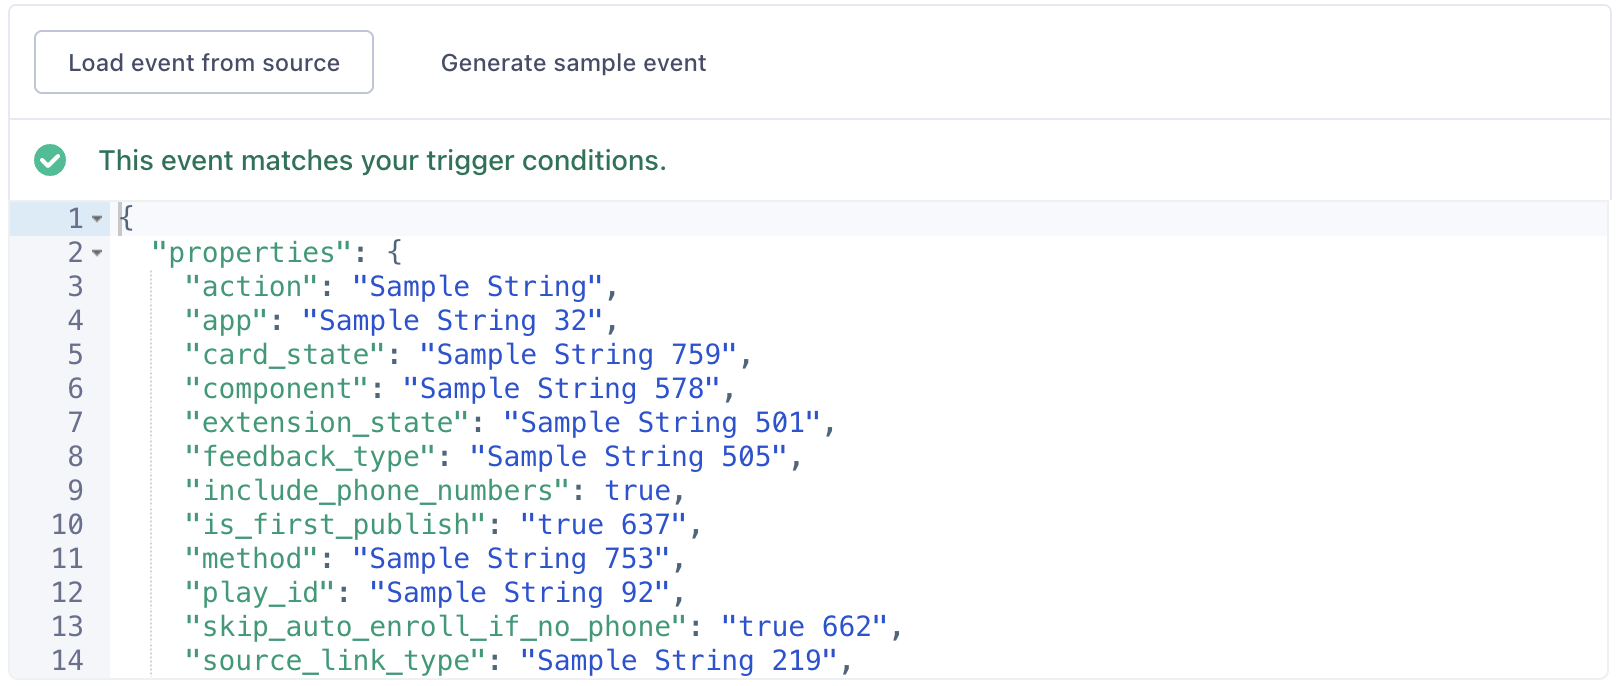
 3. Click **Generate sample event** to populate the box with an example Segment event
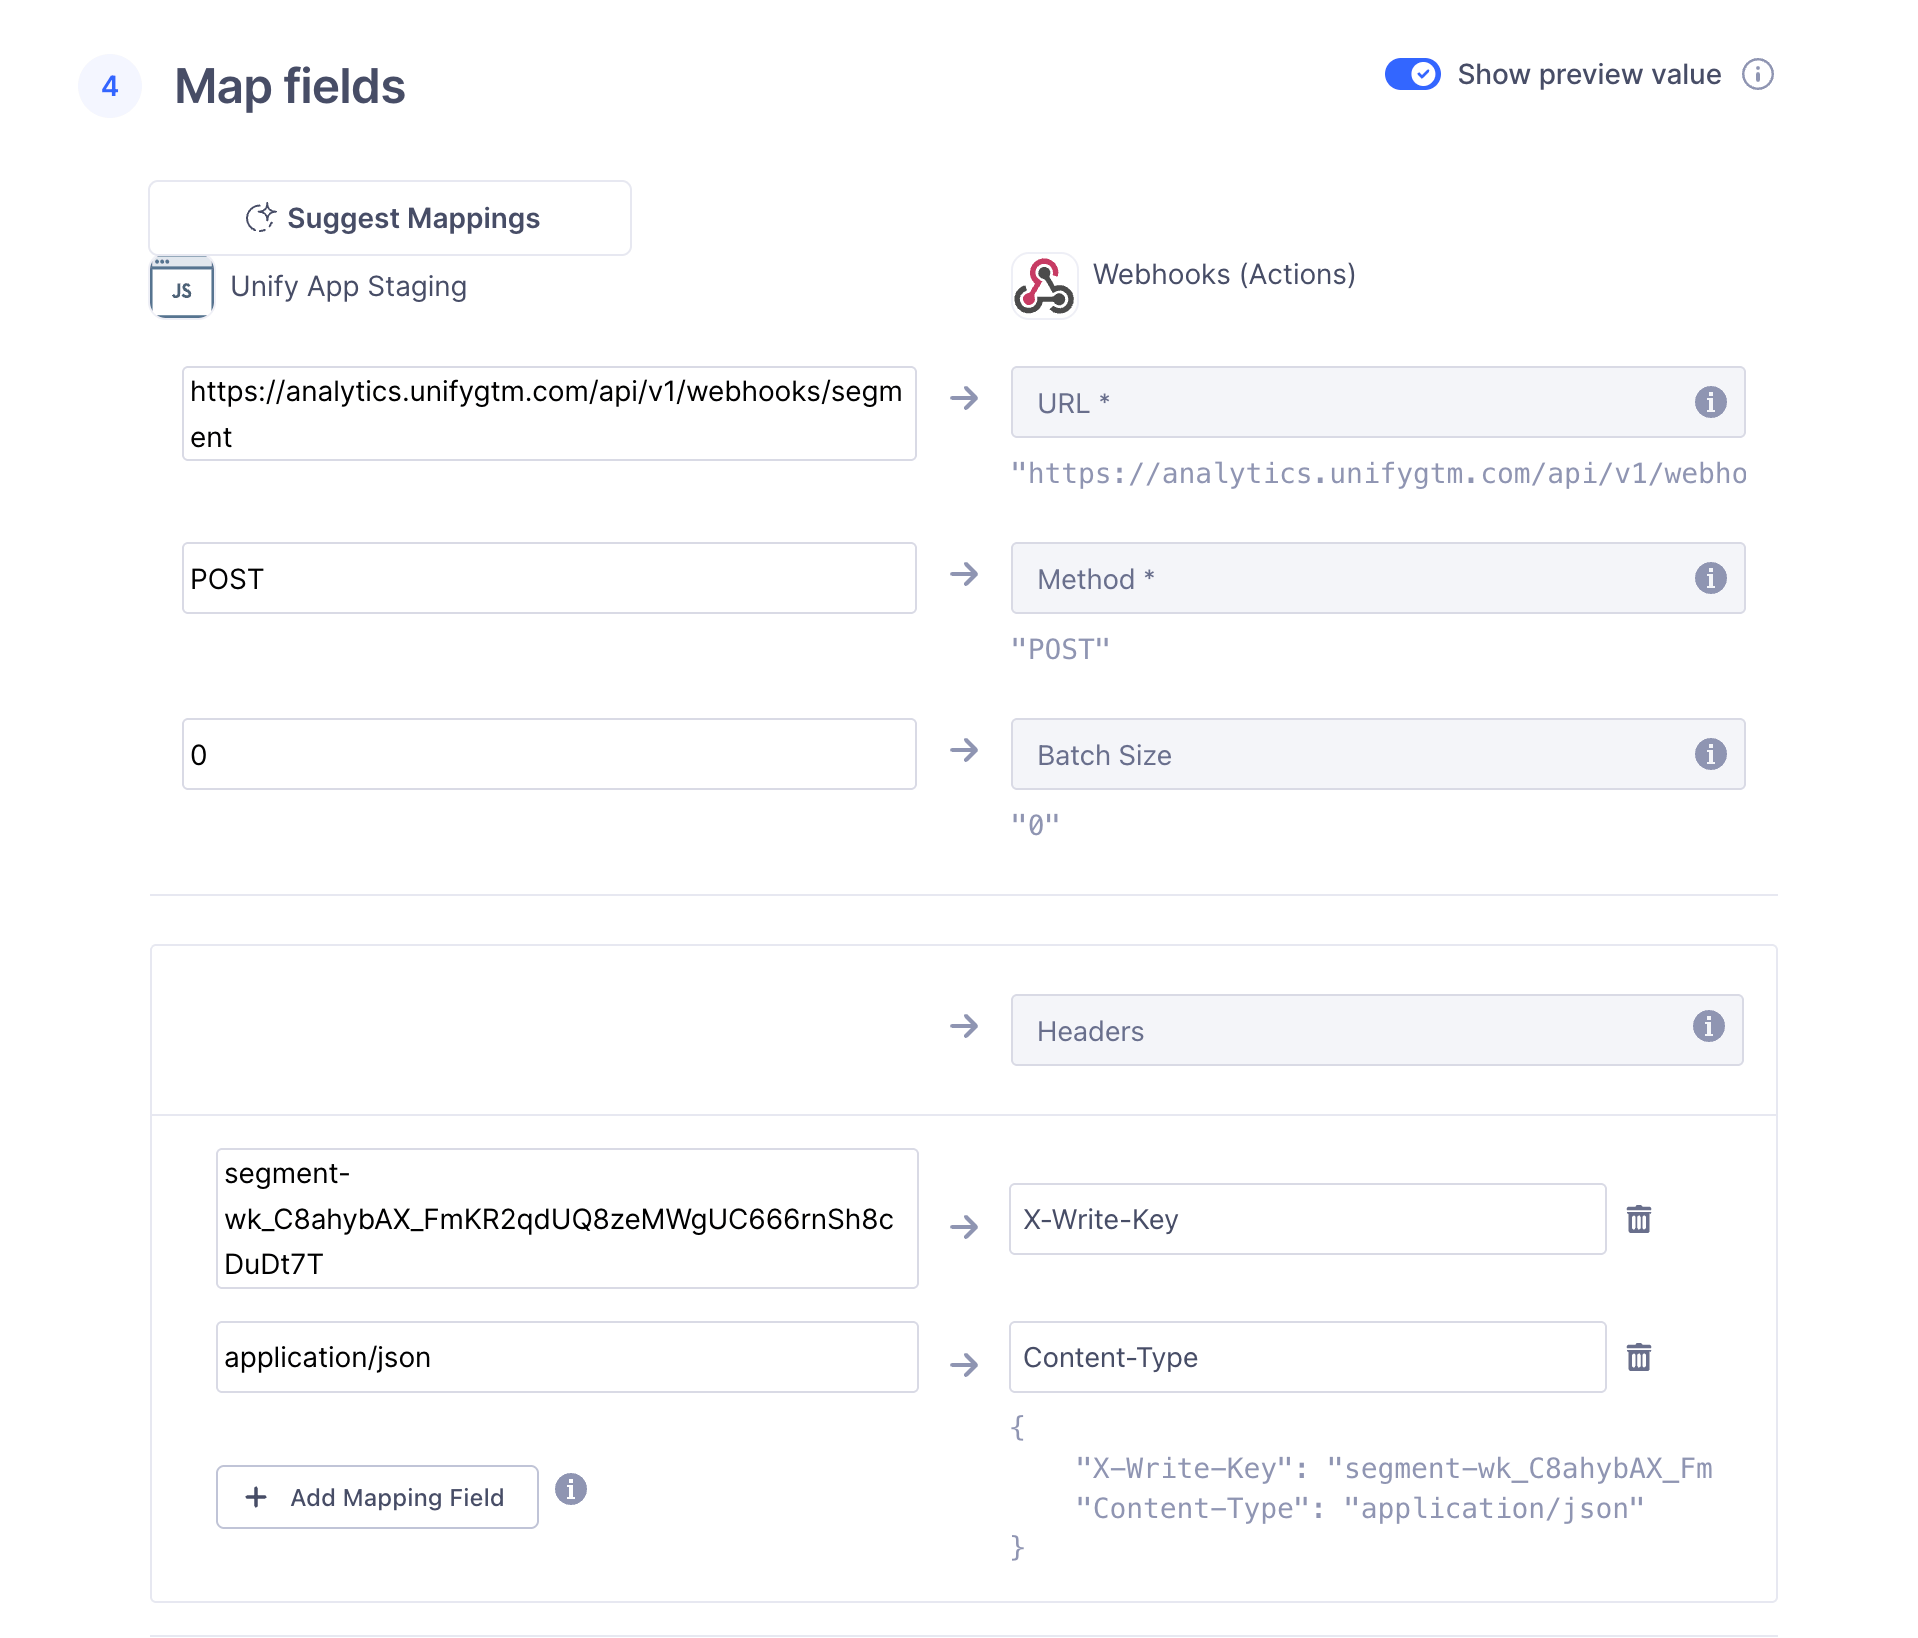
 2. Under **Section 4**:
1. Next to **URL**, fill in the following value:
```
https://analytics.unifygtm.com/api/v1/webhooks/segment
```
2. List two values under **Headers** (click **Add Mapping Field** to add more boxes):
1. `` with the key you copied earlier
2. Under **Section 4**:
1. Next to **URL**, fill in the following value:
```
https://analytics.unifygtm.com/api/v1/webhooks/segment
```
2. List two values under **Headers** (click **Add Mapping Field** to add more boxes):
1. `` with the key you copied earlier
 3. Under **Section 5**:
1. Send a test event to verify that it’s working
3. Under **Section 5**:
1. Send a test event to verify that it’s working
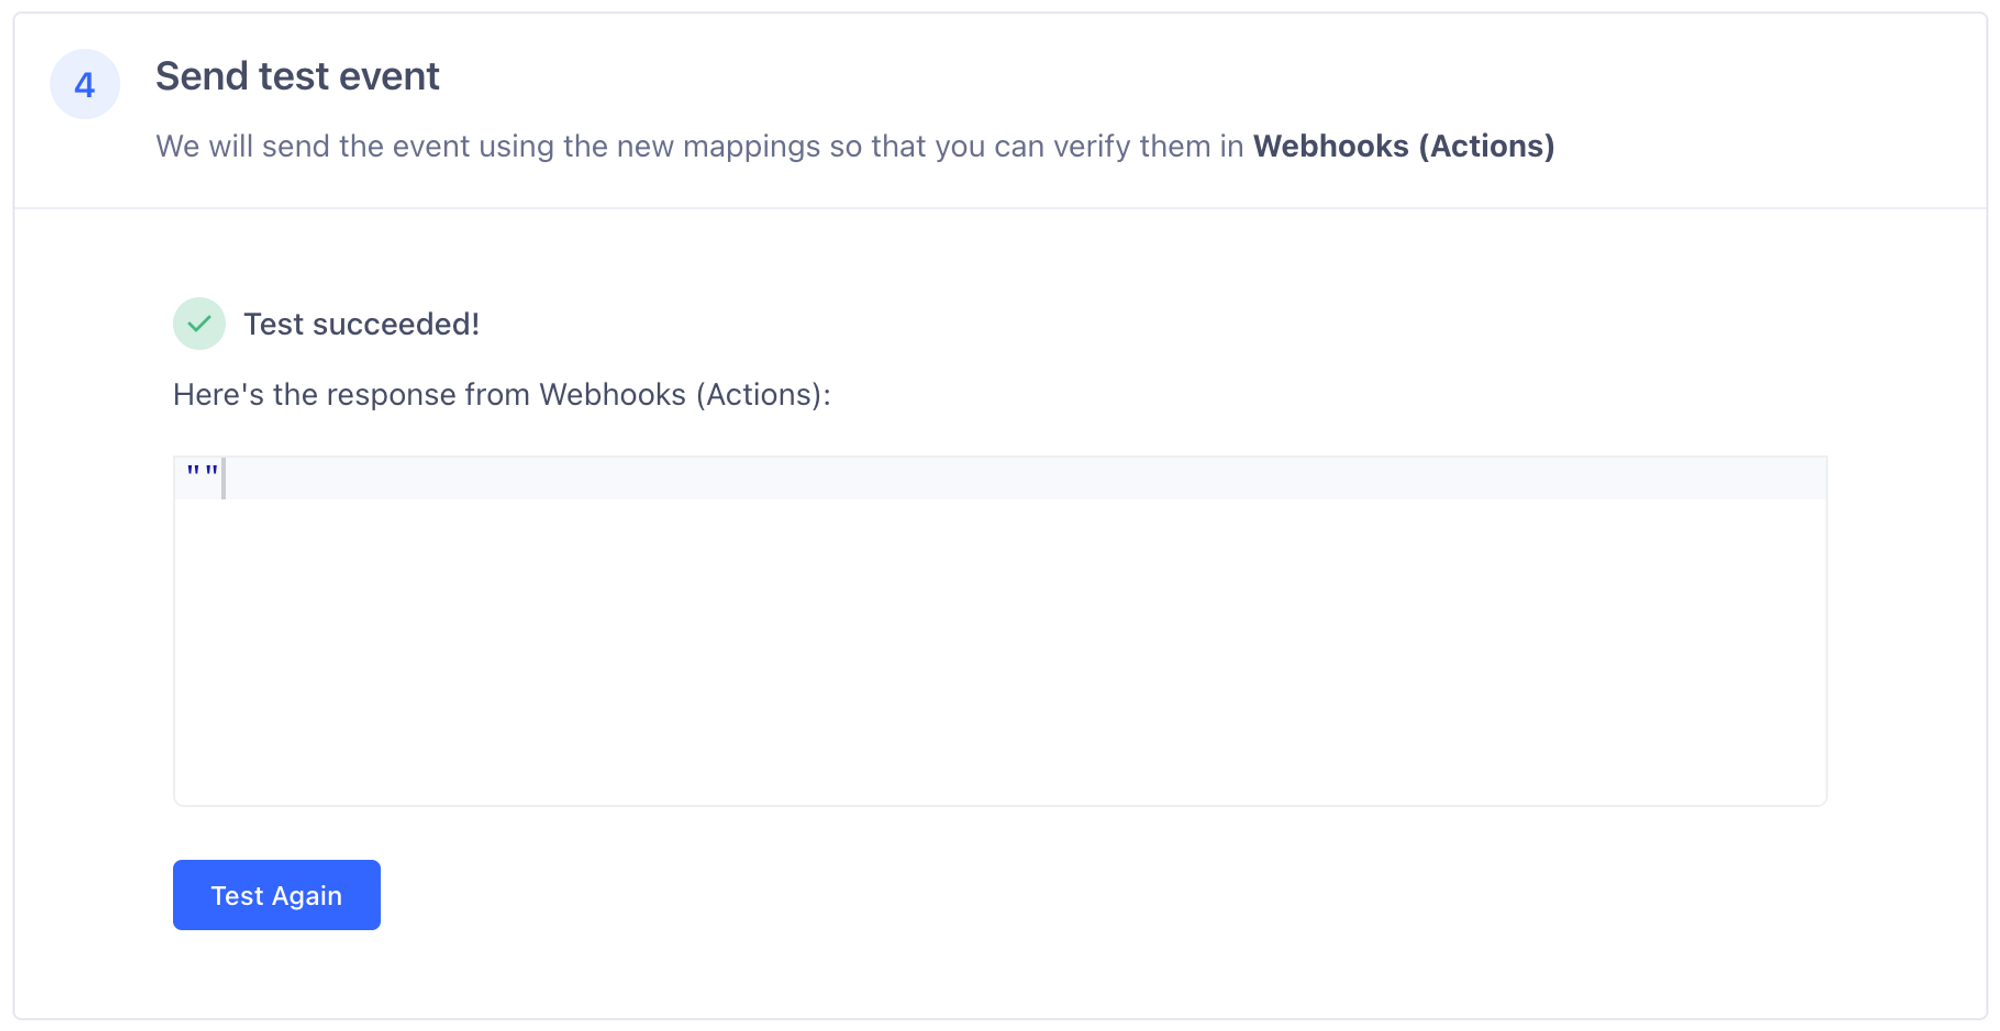 That’s it! If you see **Test event successfully received by destination.**, you’re all set. Traffic should now be flowing into Unify.
This documentation is built and hosted on [Mintlify](https://mintlify.com), a developer documentation platform.
That’s it! If you see **Test event successfully received by destination.**, you’re all set. Traffic should now be flowing into Unify.
This documentation is built and hosted on [Mintlify](https://mintlify.com), a developer documentation platform.